The Glass Bottle Project
I recently reused some glass bottles to make centre pieces at Mum and Dad’s 25th Wedding Anniversary party, I do like a bit of art and craft. This is how it all came about and how I achieved the end product.
When I was on the Welsh Highland Railway during my summer holidays, I decided to take home two empty glass bottles, which had previously contained apple juice and lemonade (if you were interested, they were the Fentiman’s ones). I thought they looked quite vintage, and it would be a good idea to reuse them, rather than sending them onto the refreshment trolley and into the recycling bin.
I began collecting more and more of these bottles, jam jars and mini jam jars because it came to me that I could create centre pieces out of them for the anniversary party that was coming up. I had seen YouTube demonstrations of people colouring bottles by coating the insides of the bottle with paint, particularly as wedding decoration ideas. This was a cheap and easy idea that I knew it could try.
For me, this project wasn’t just cheap- it was free! I didn’t pay for the drinks that came in the bottles, nor did I pay for the paint. I raided my Grandparents’ garage (top tip, you find allsorts in there) whilst we were staying at their house on the Isle of Man, and used normal tins of emulsion paint. You’re supposed to use acrylic paint but I normally cut corners (usually in baking, essays etc.).
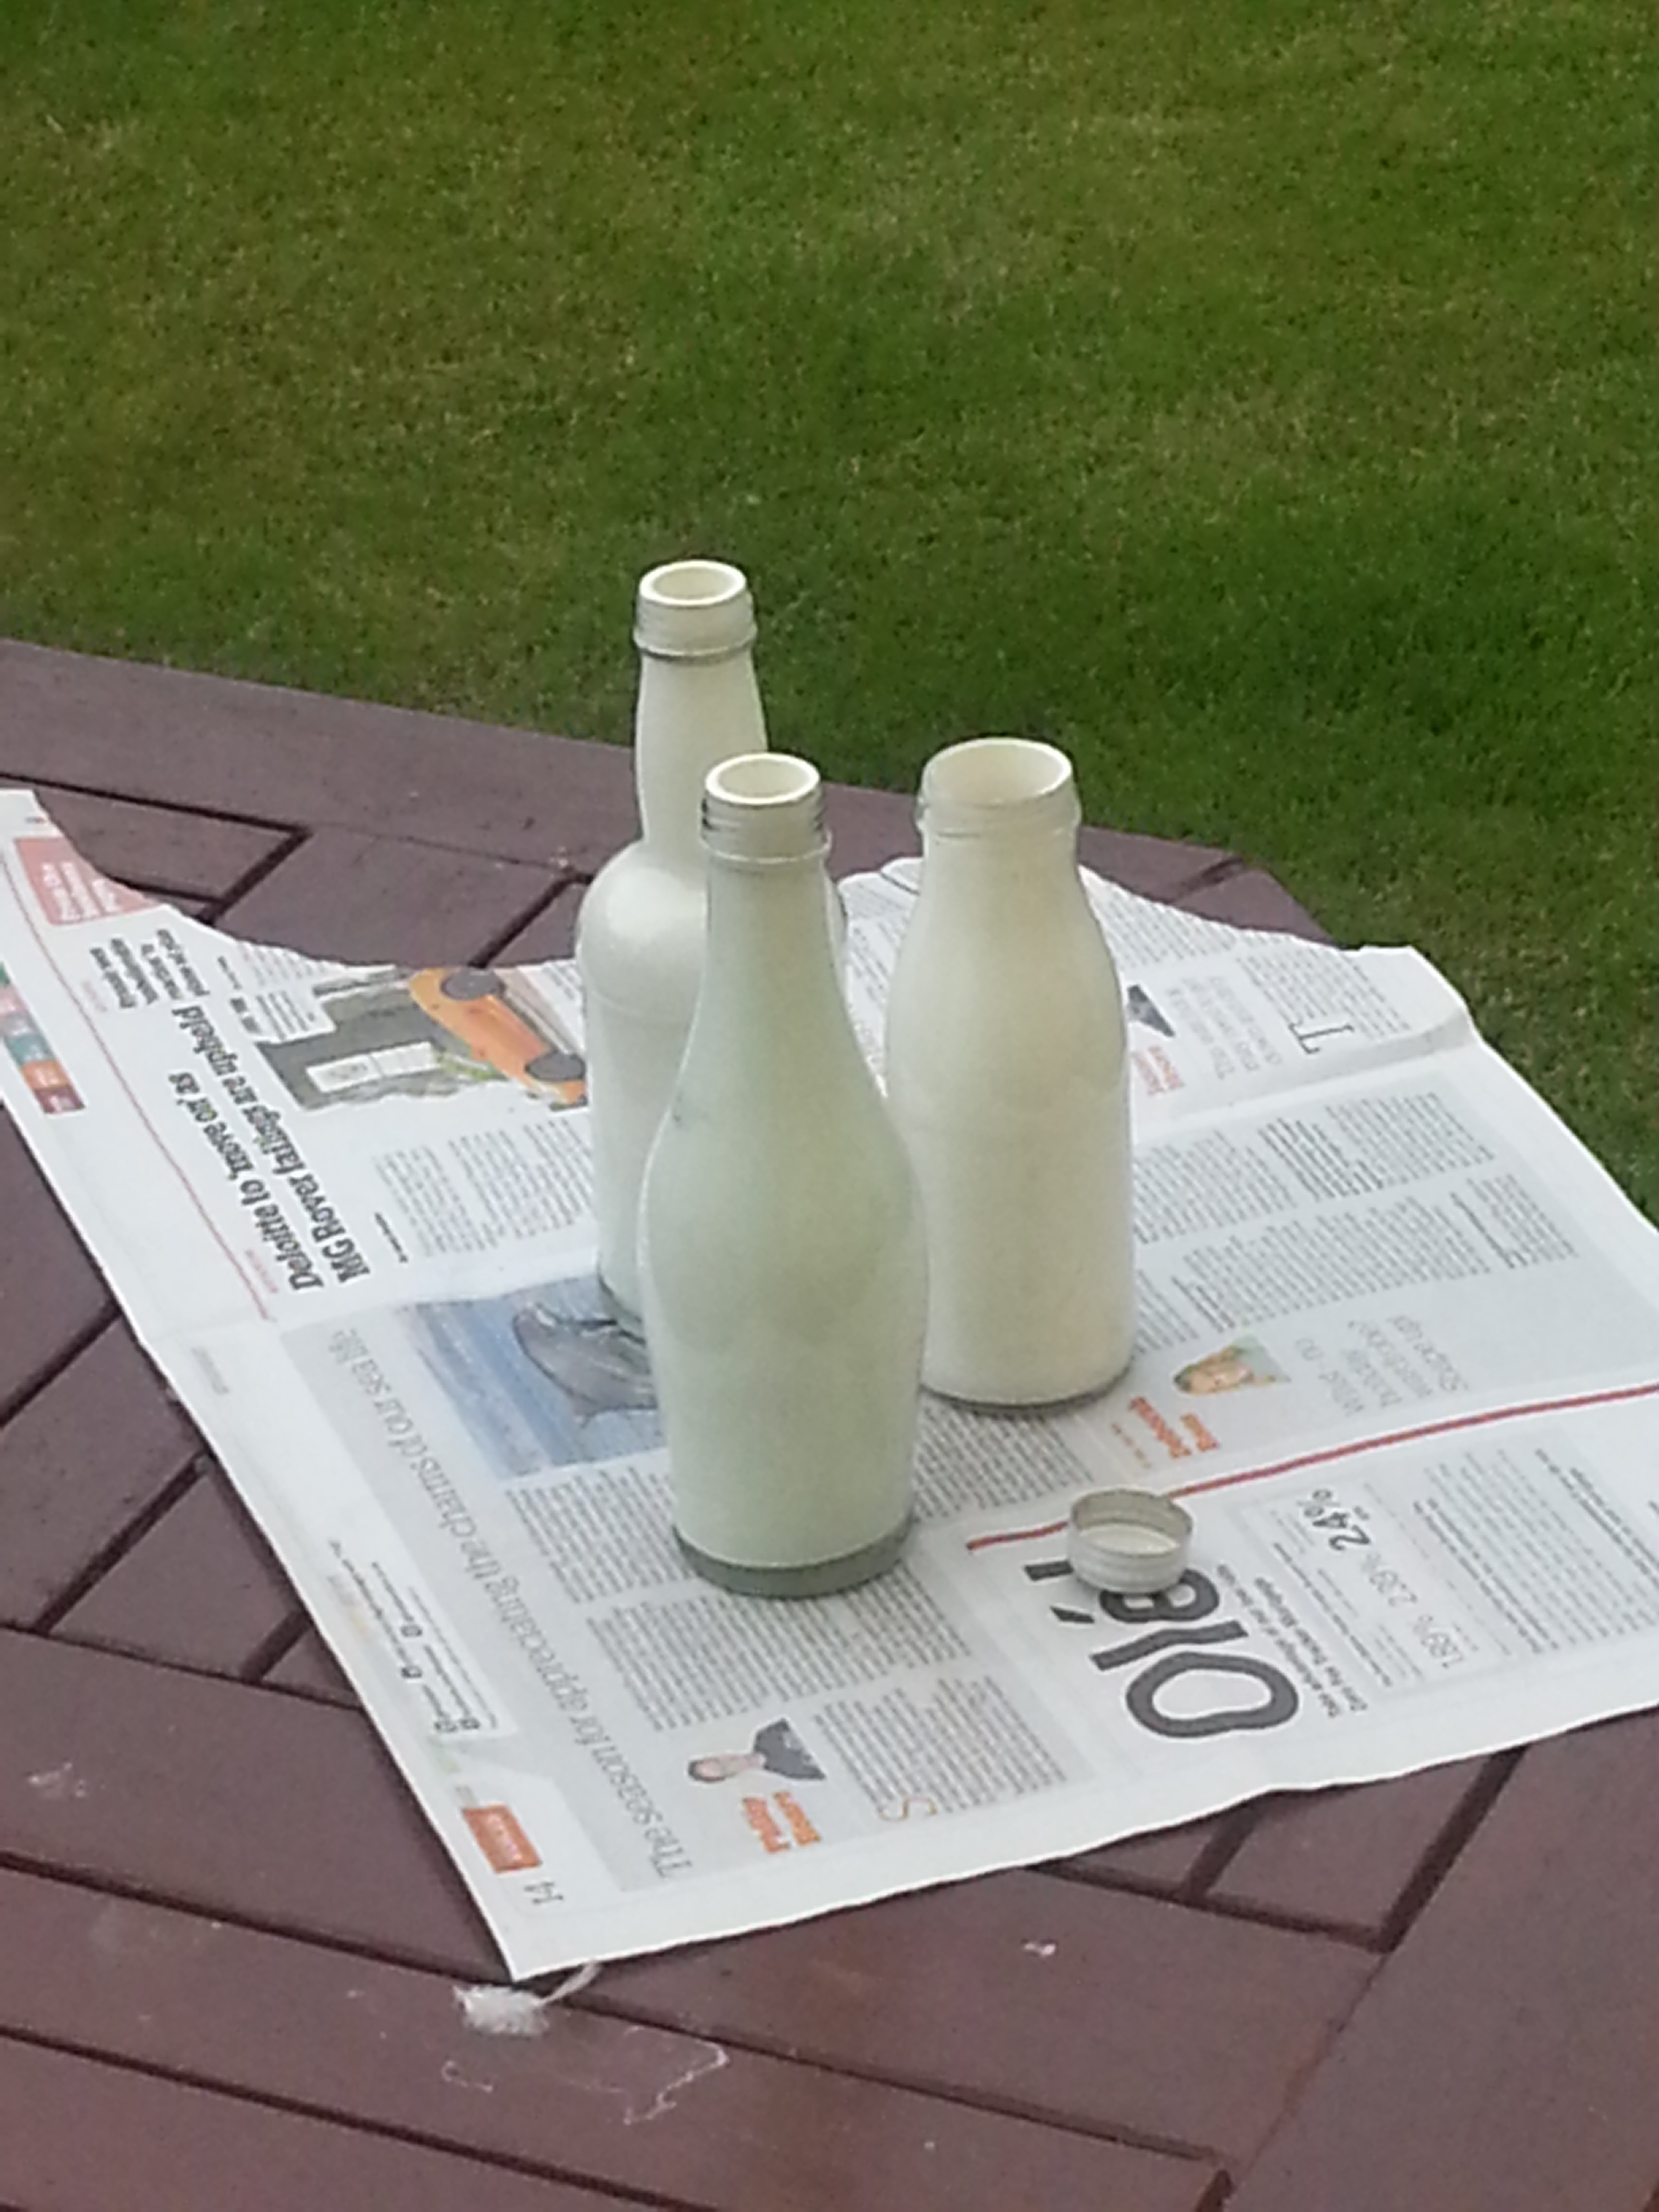
I put some off-white paint in some bottles, and some pure white in others, to see which would give the best effect. I swirled the paint round inside the bottles, and then stood them to stand upside down in milk cartons. The excess paint could now drain out and the cartons would catch it.
I encountered some problems whilst doing this. Because I wasn’t using the right paint, it didn’t really stick to the inside of the bottles well and tended just to drain out. Also, because I was, in essence, simply transferring paint from one container to the other, it didn’t want to dry. Air couldn’t get in to the narrow necks of the bottles so it took a very long time.
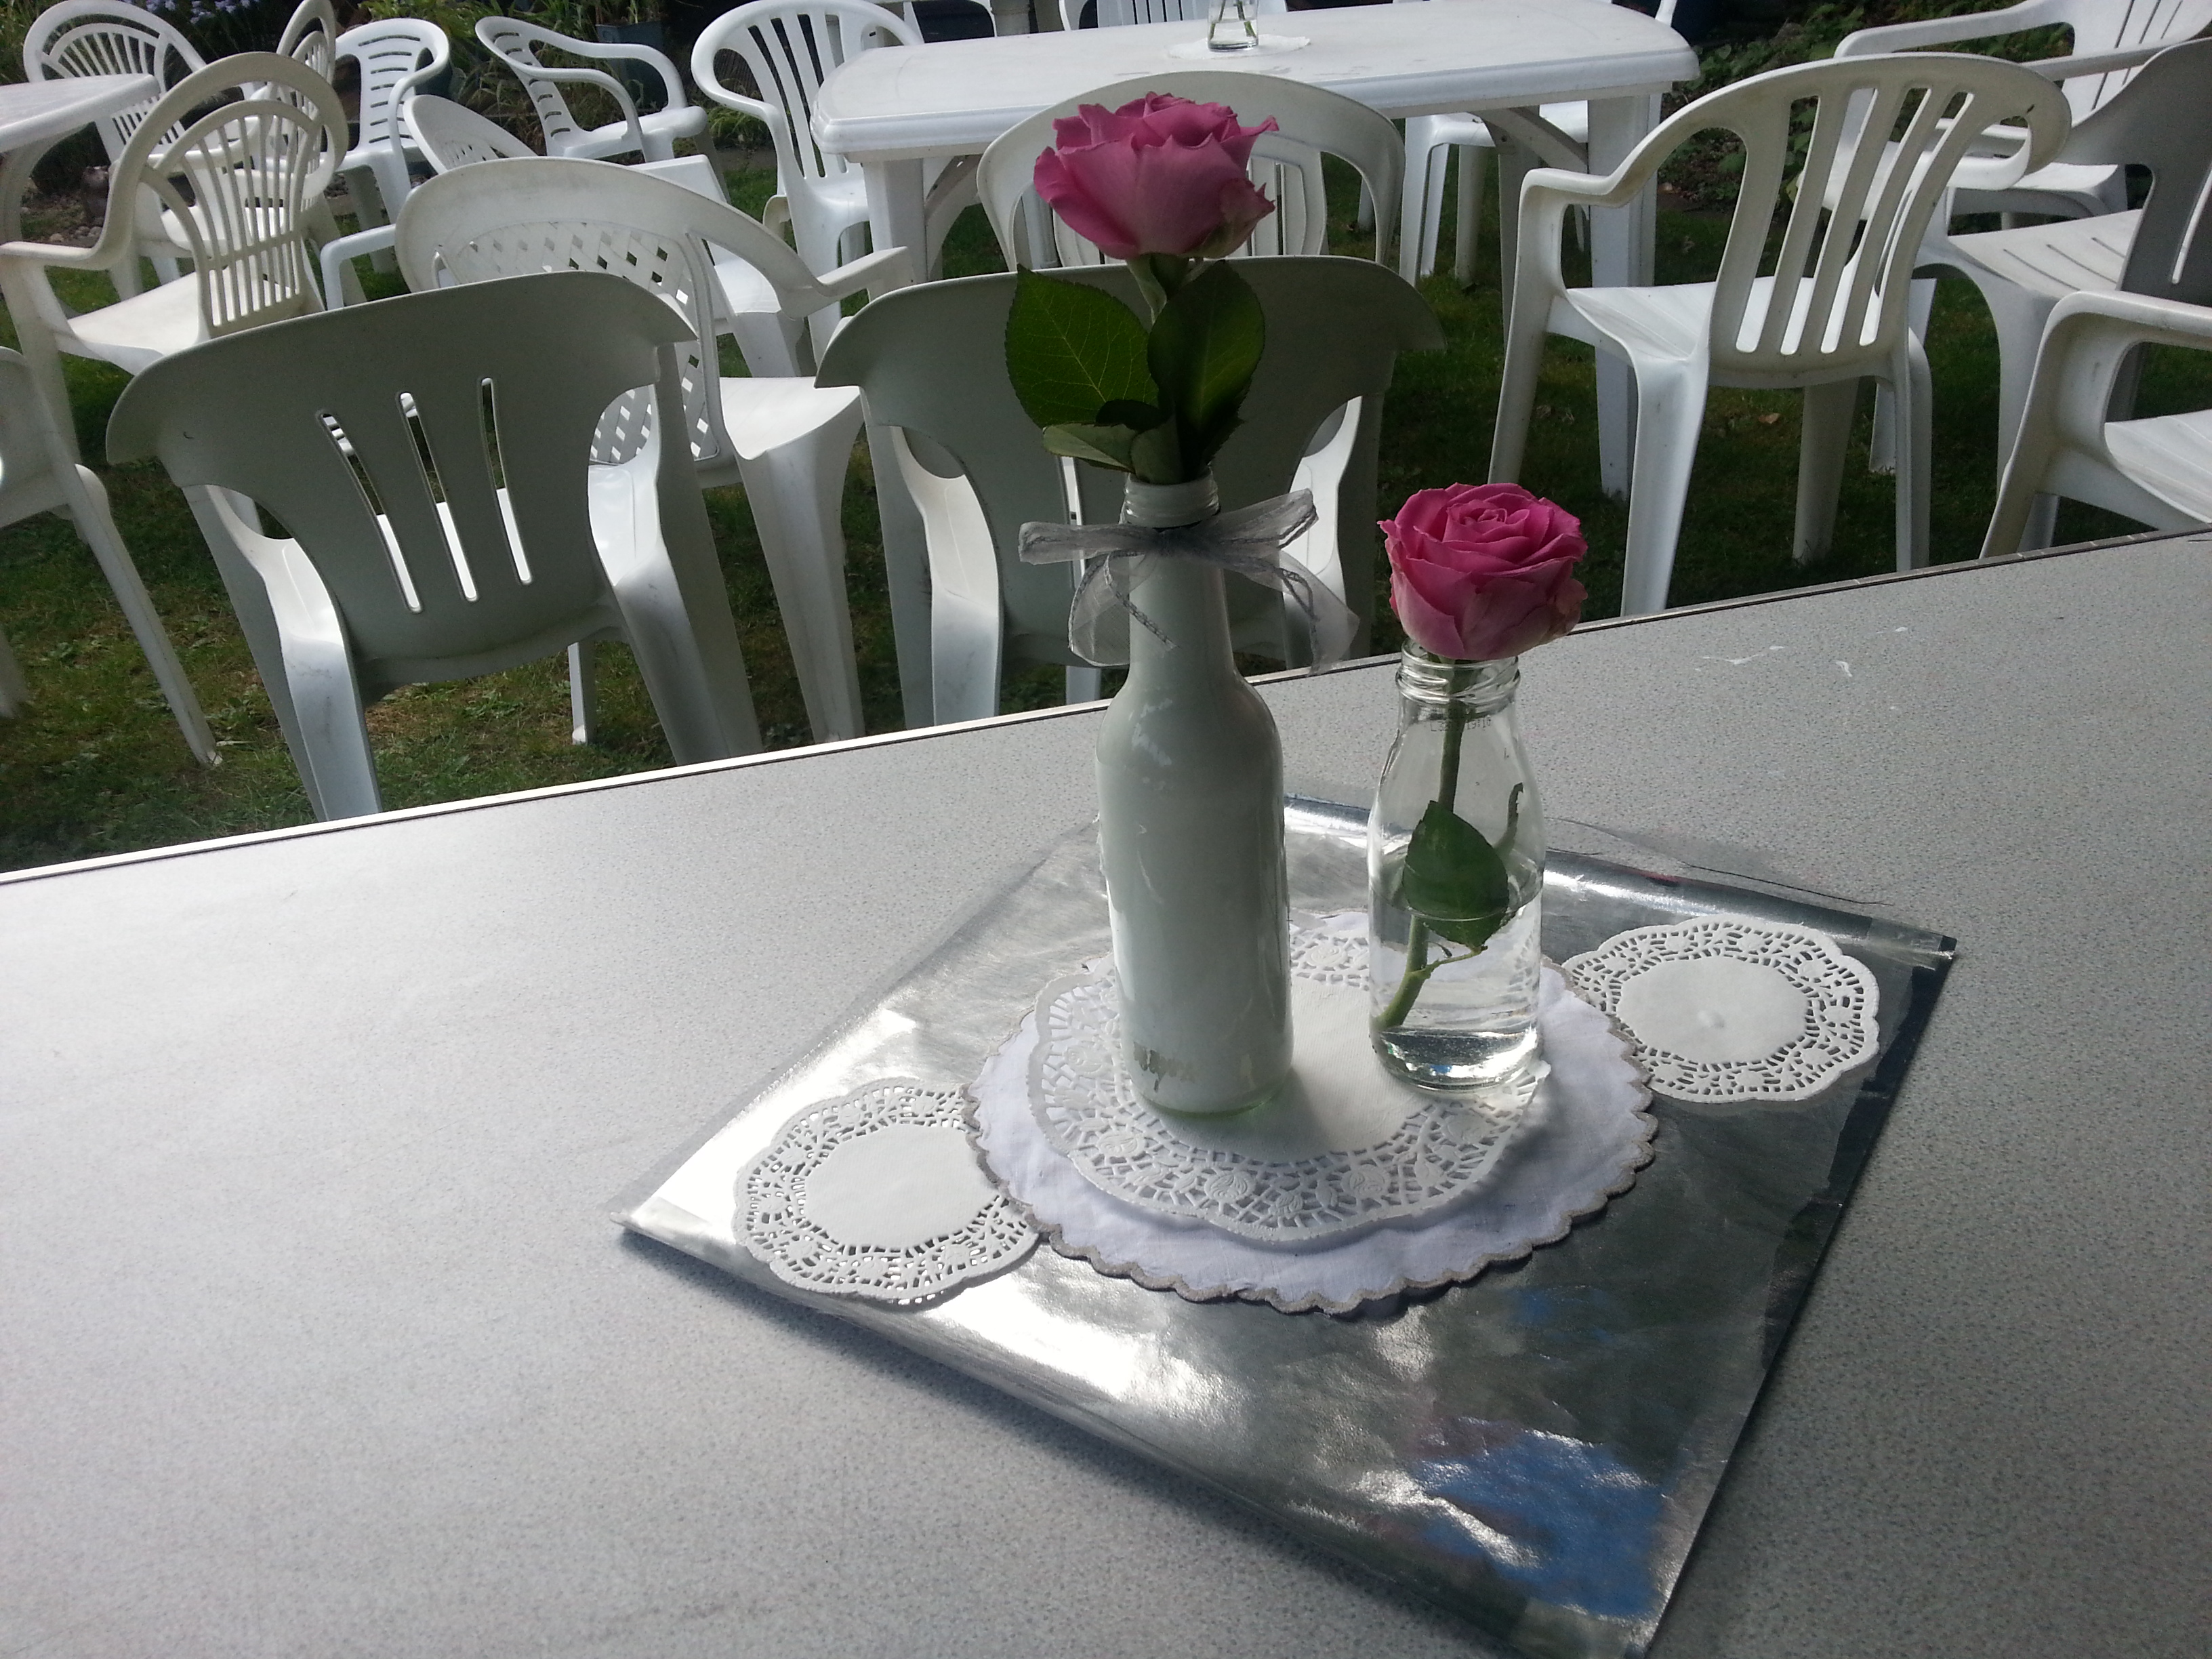
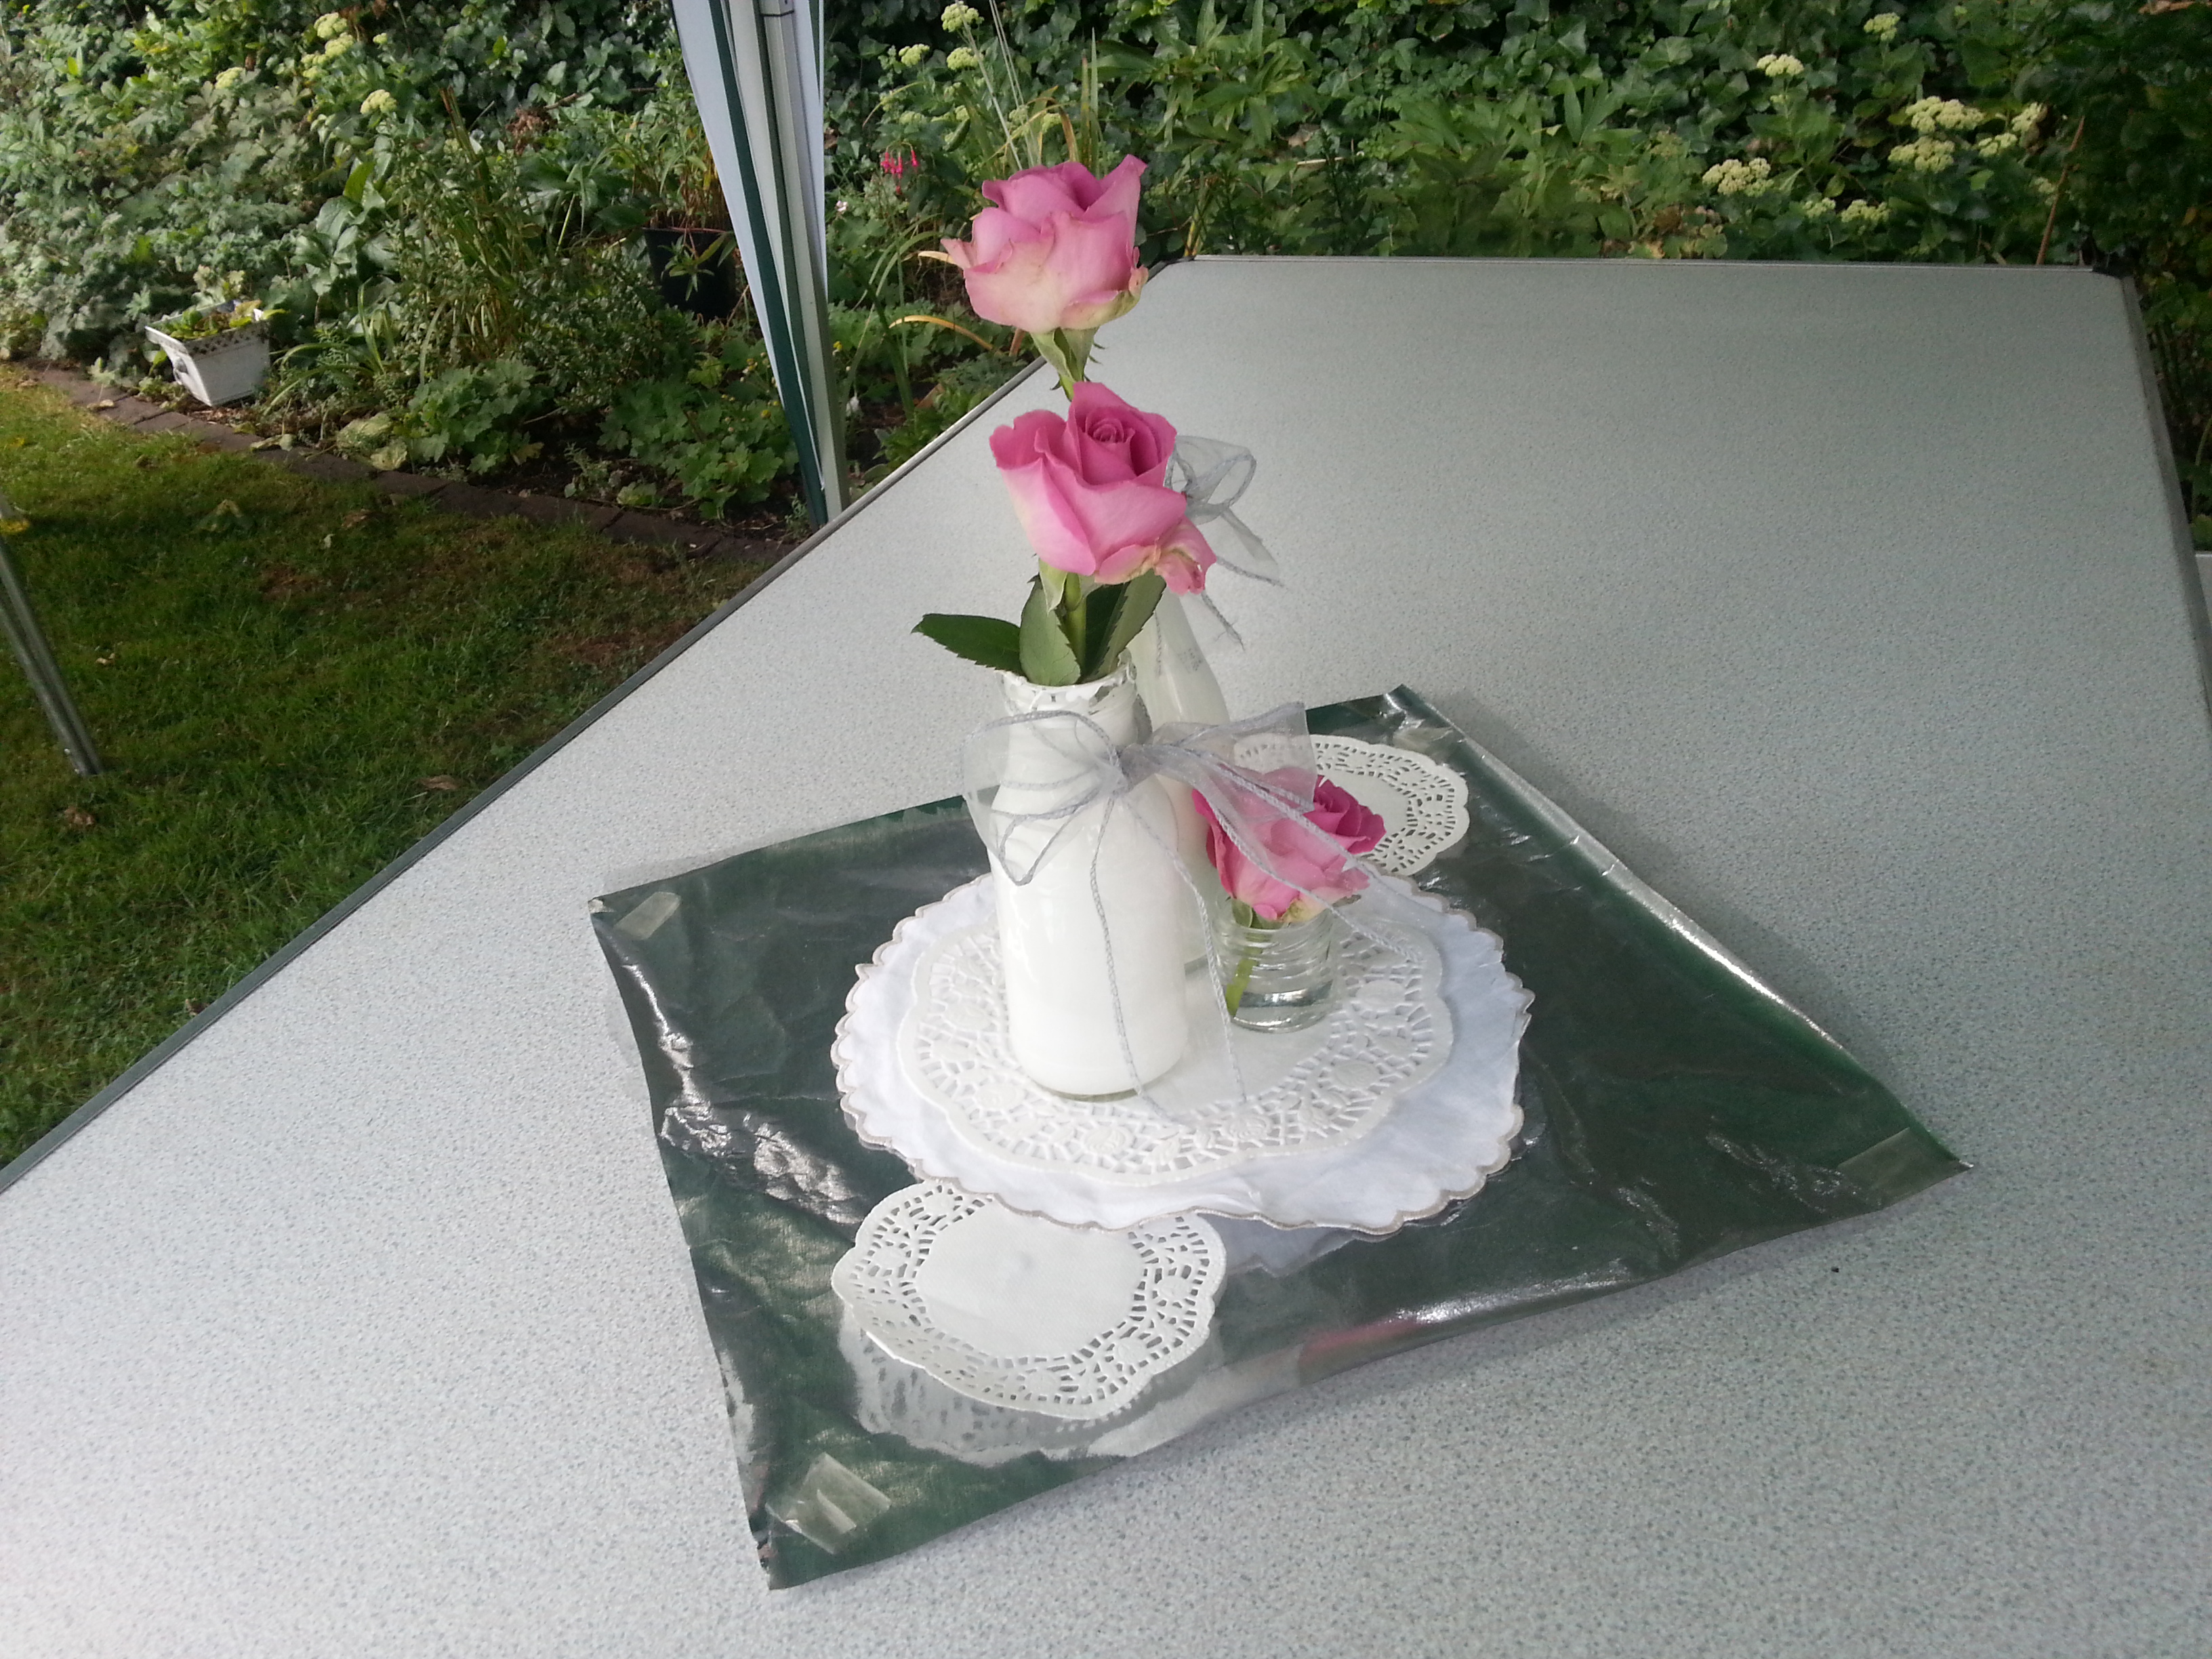
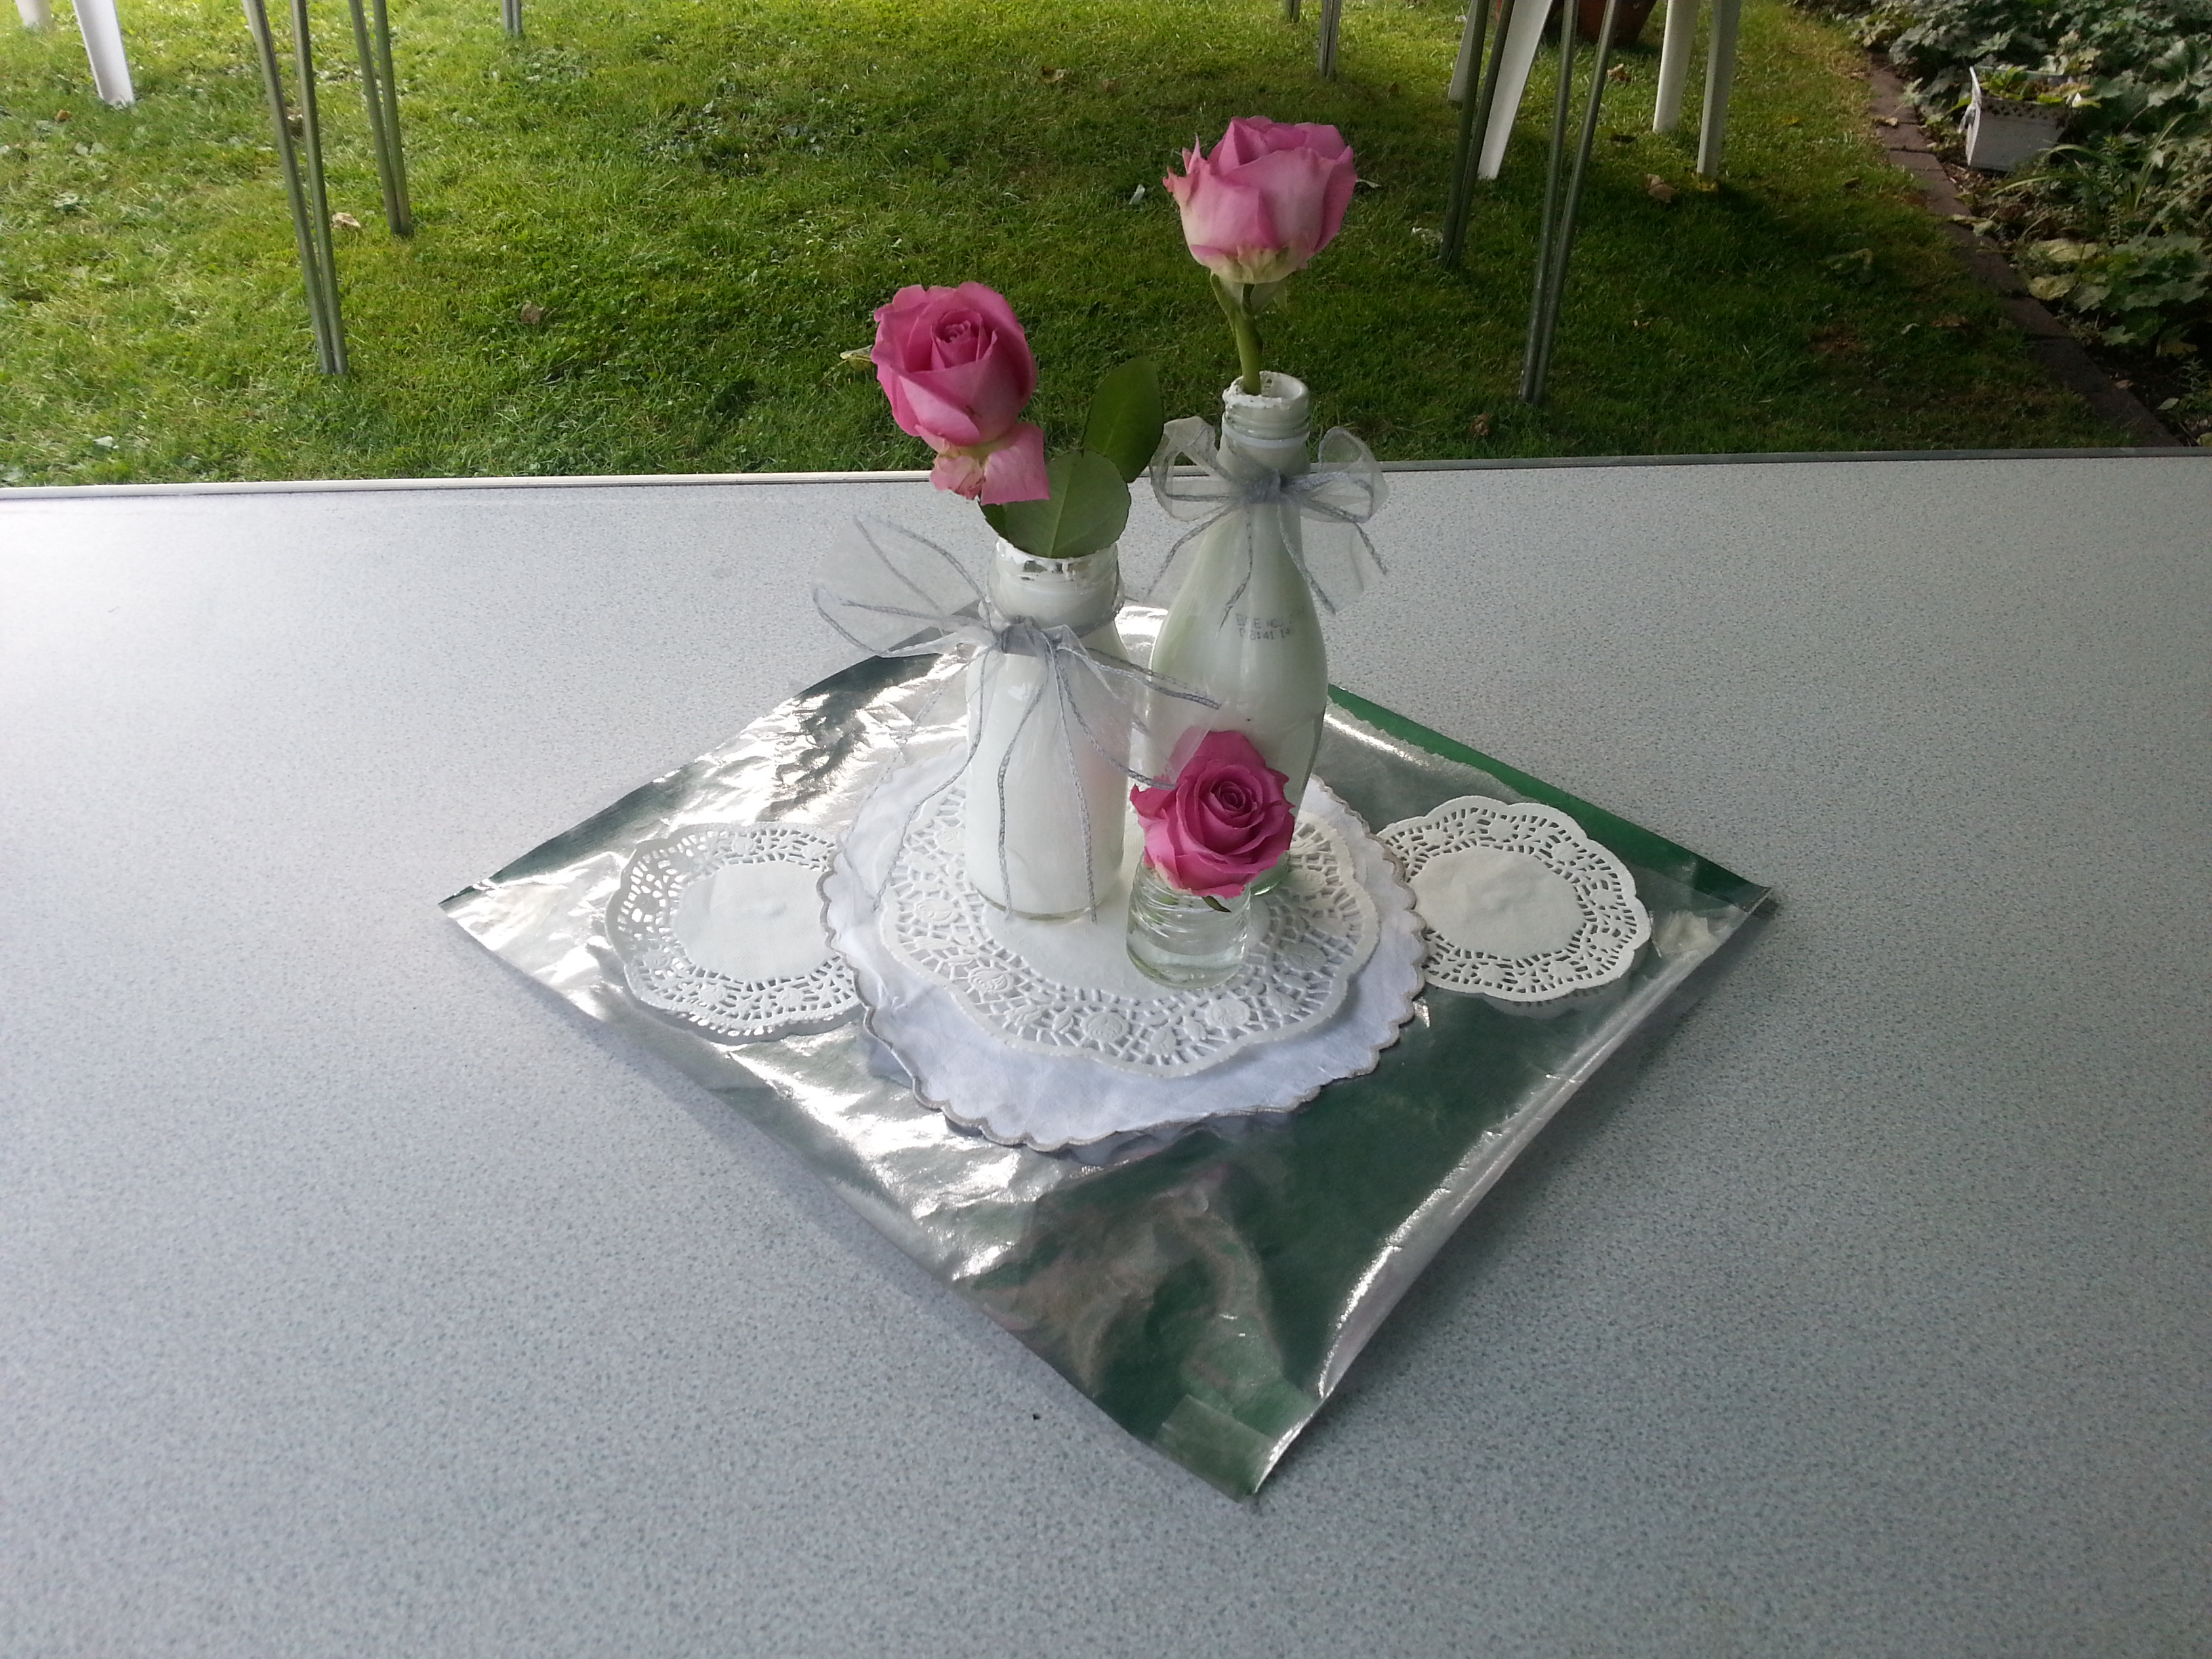
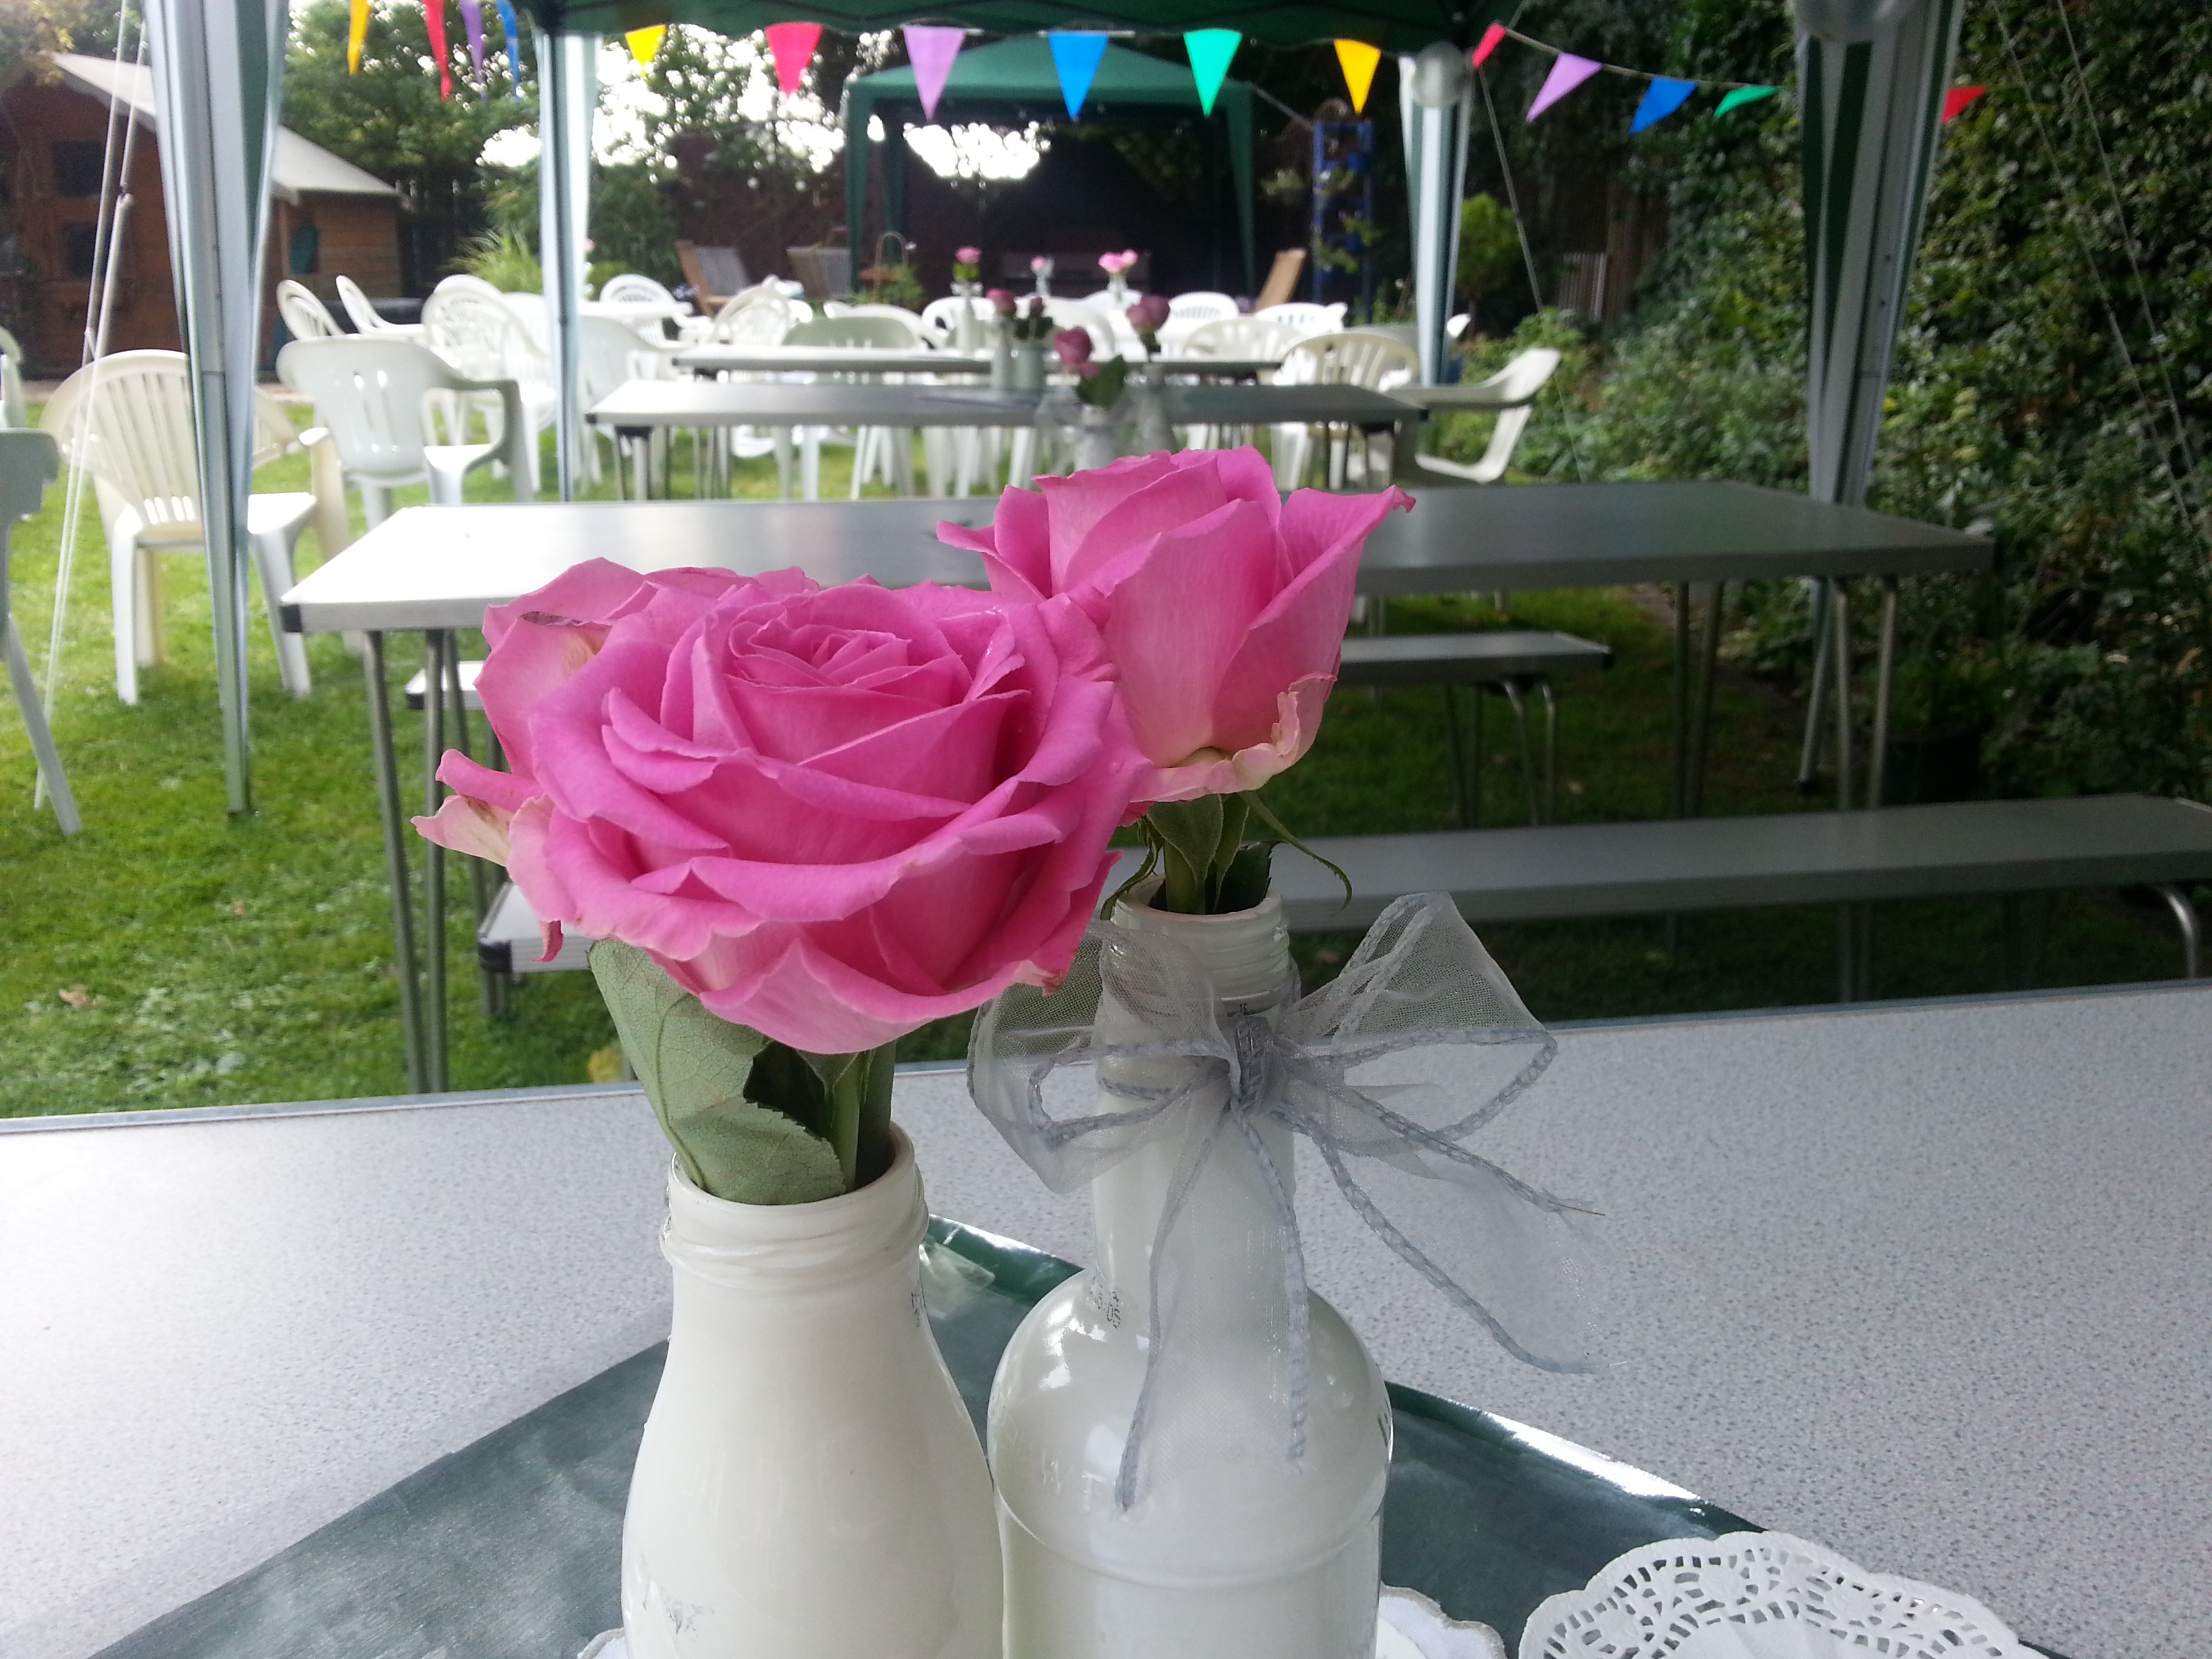
For the centre pieces, I left some of the bottles clear to create variety. The bottles were different shapes and sizes for a bit of interest and to make it look unique. I bought some pink roses to put in all the bottles for a pop of colour.
The assembly took some time, and I had some very helpful cousins joining in, but here’s how I did it:
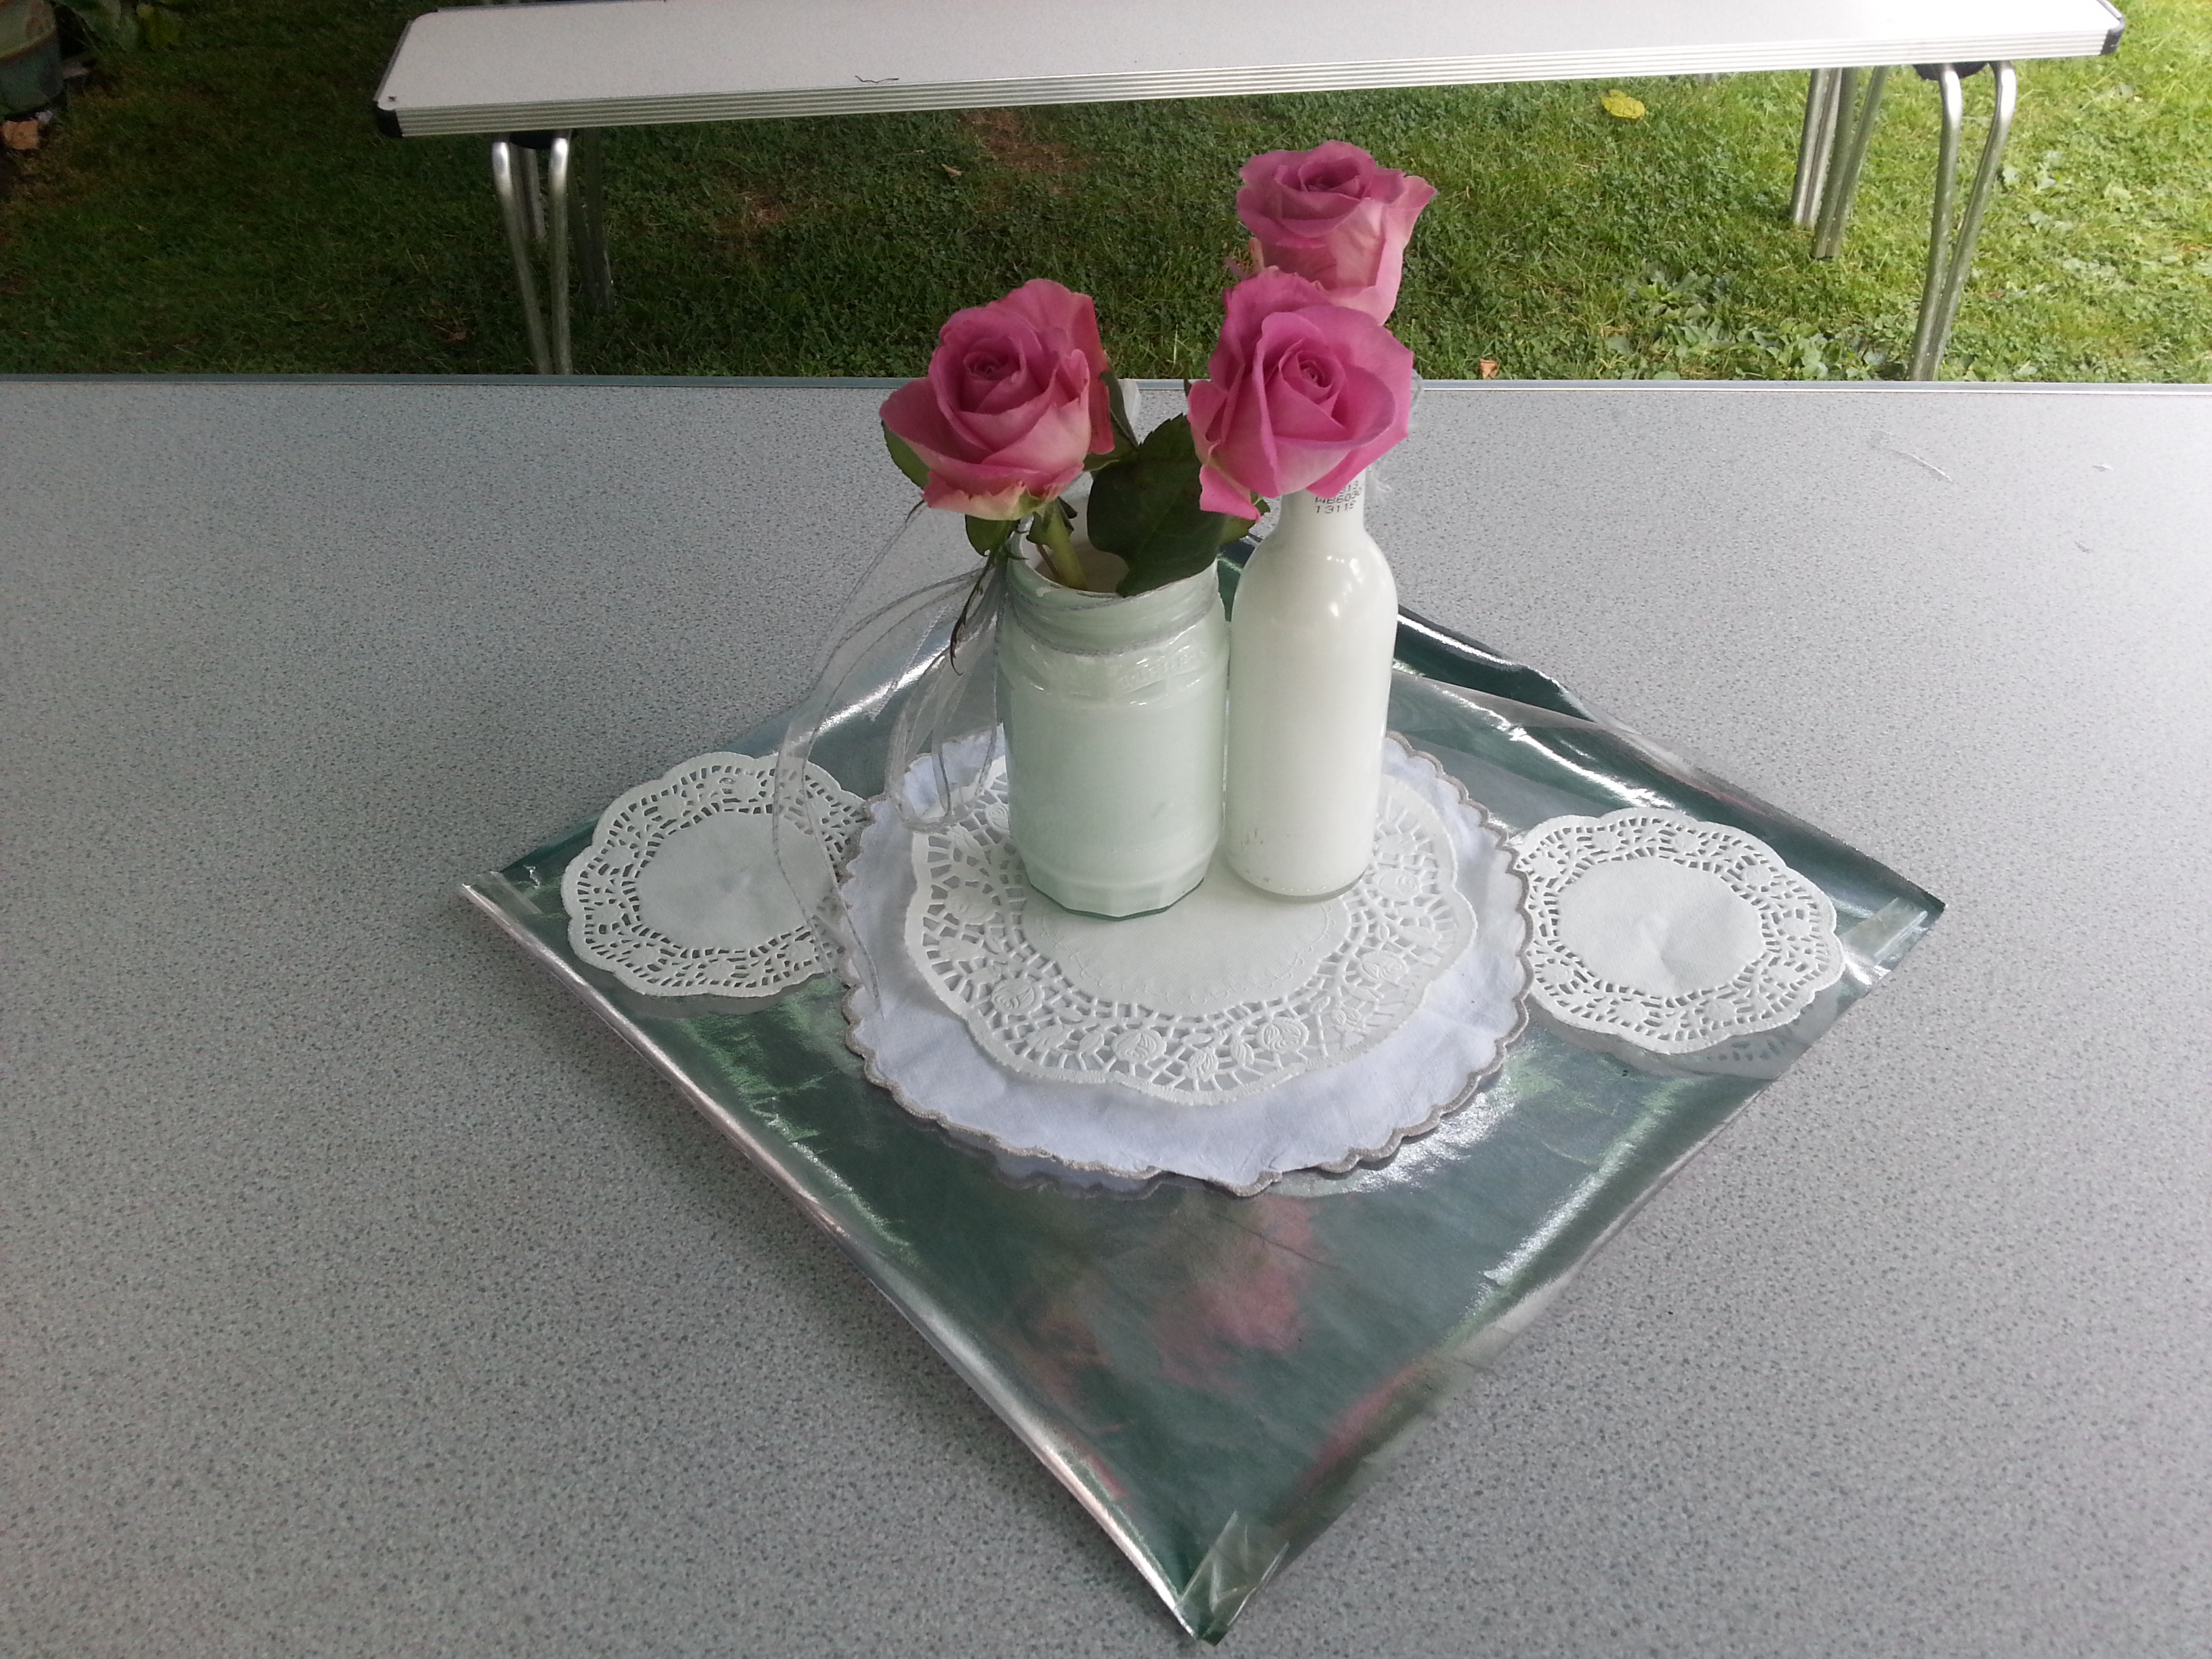
1) Cut squares of silver wrapping paper and equal sized squares of silver organza.
2) Laid the two layers together and blue tacked them to the table on the diagonal.
3) Arranged a scalloped napkin (found in Peel charity shop) and some paper doilies on top.
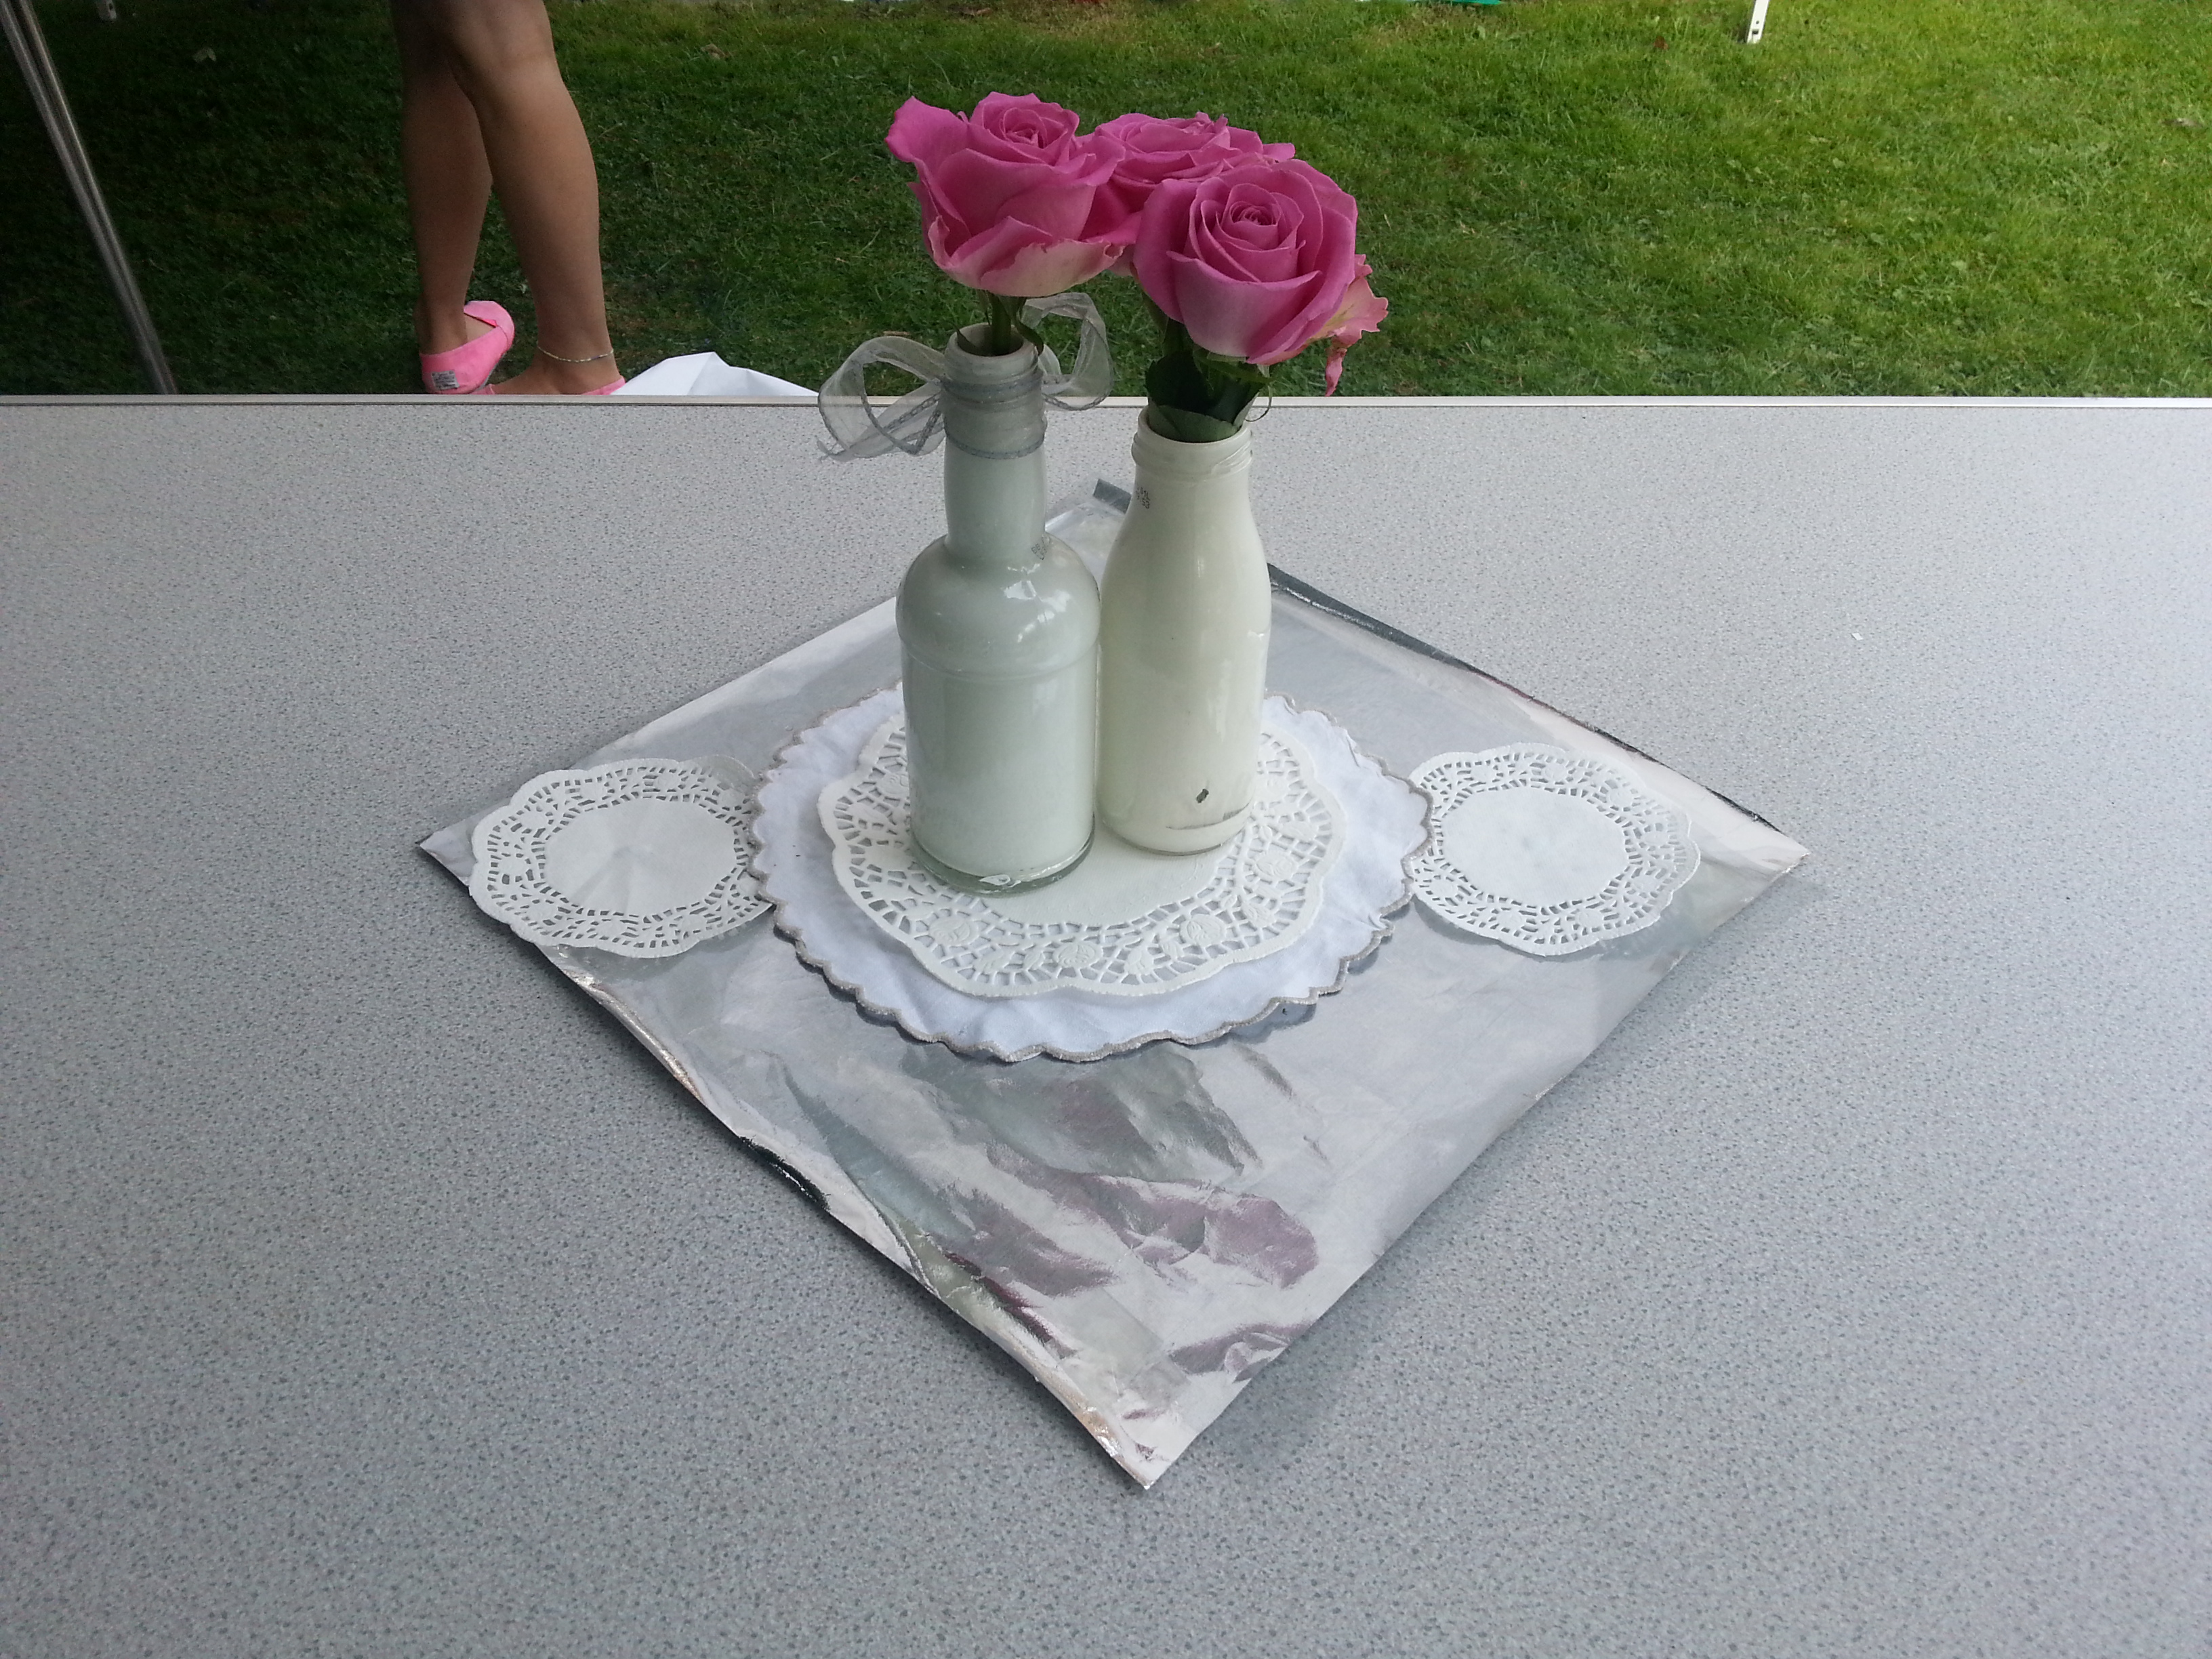
4) Placed on a few bottles with ribbon tied round them.
5) Trimmed the flowers and along with those added the water to the bottles.
I was happy with the finished product because it wasn’t overpowering, but looked cute, vintage and suitable for a wedding anniversary.
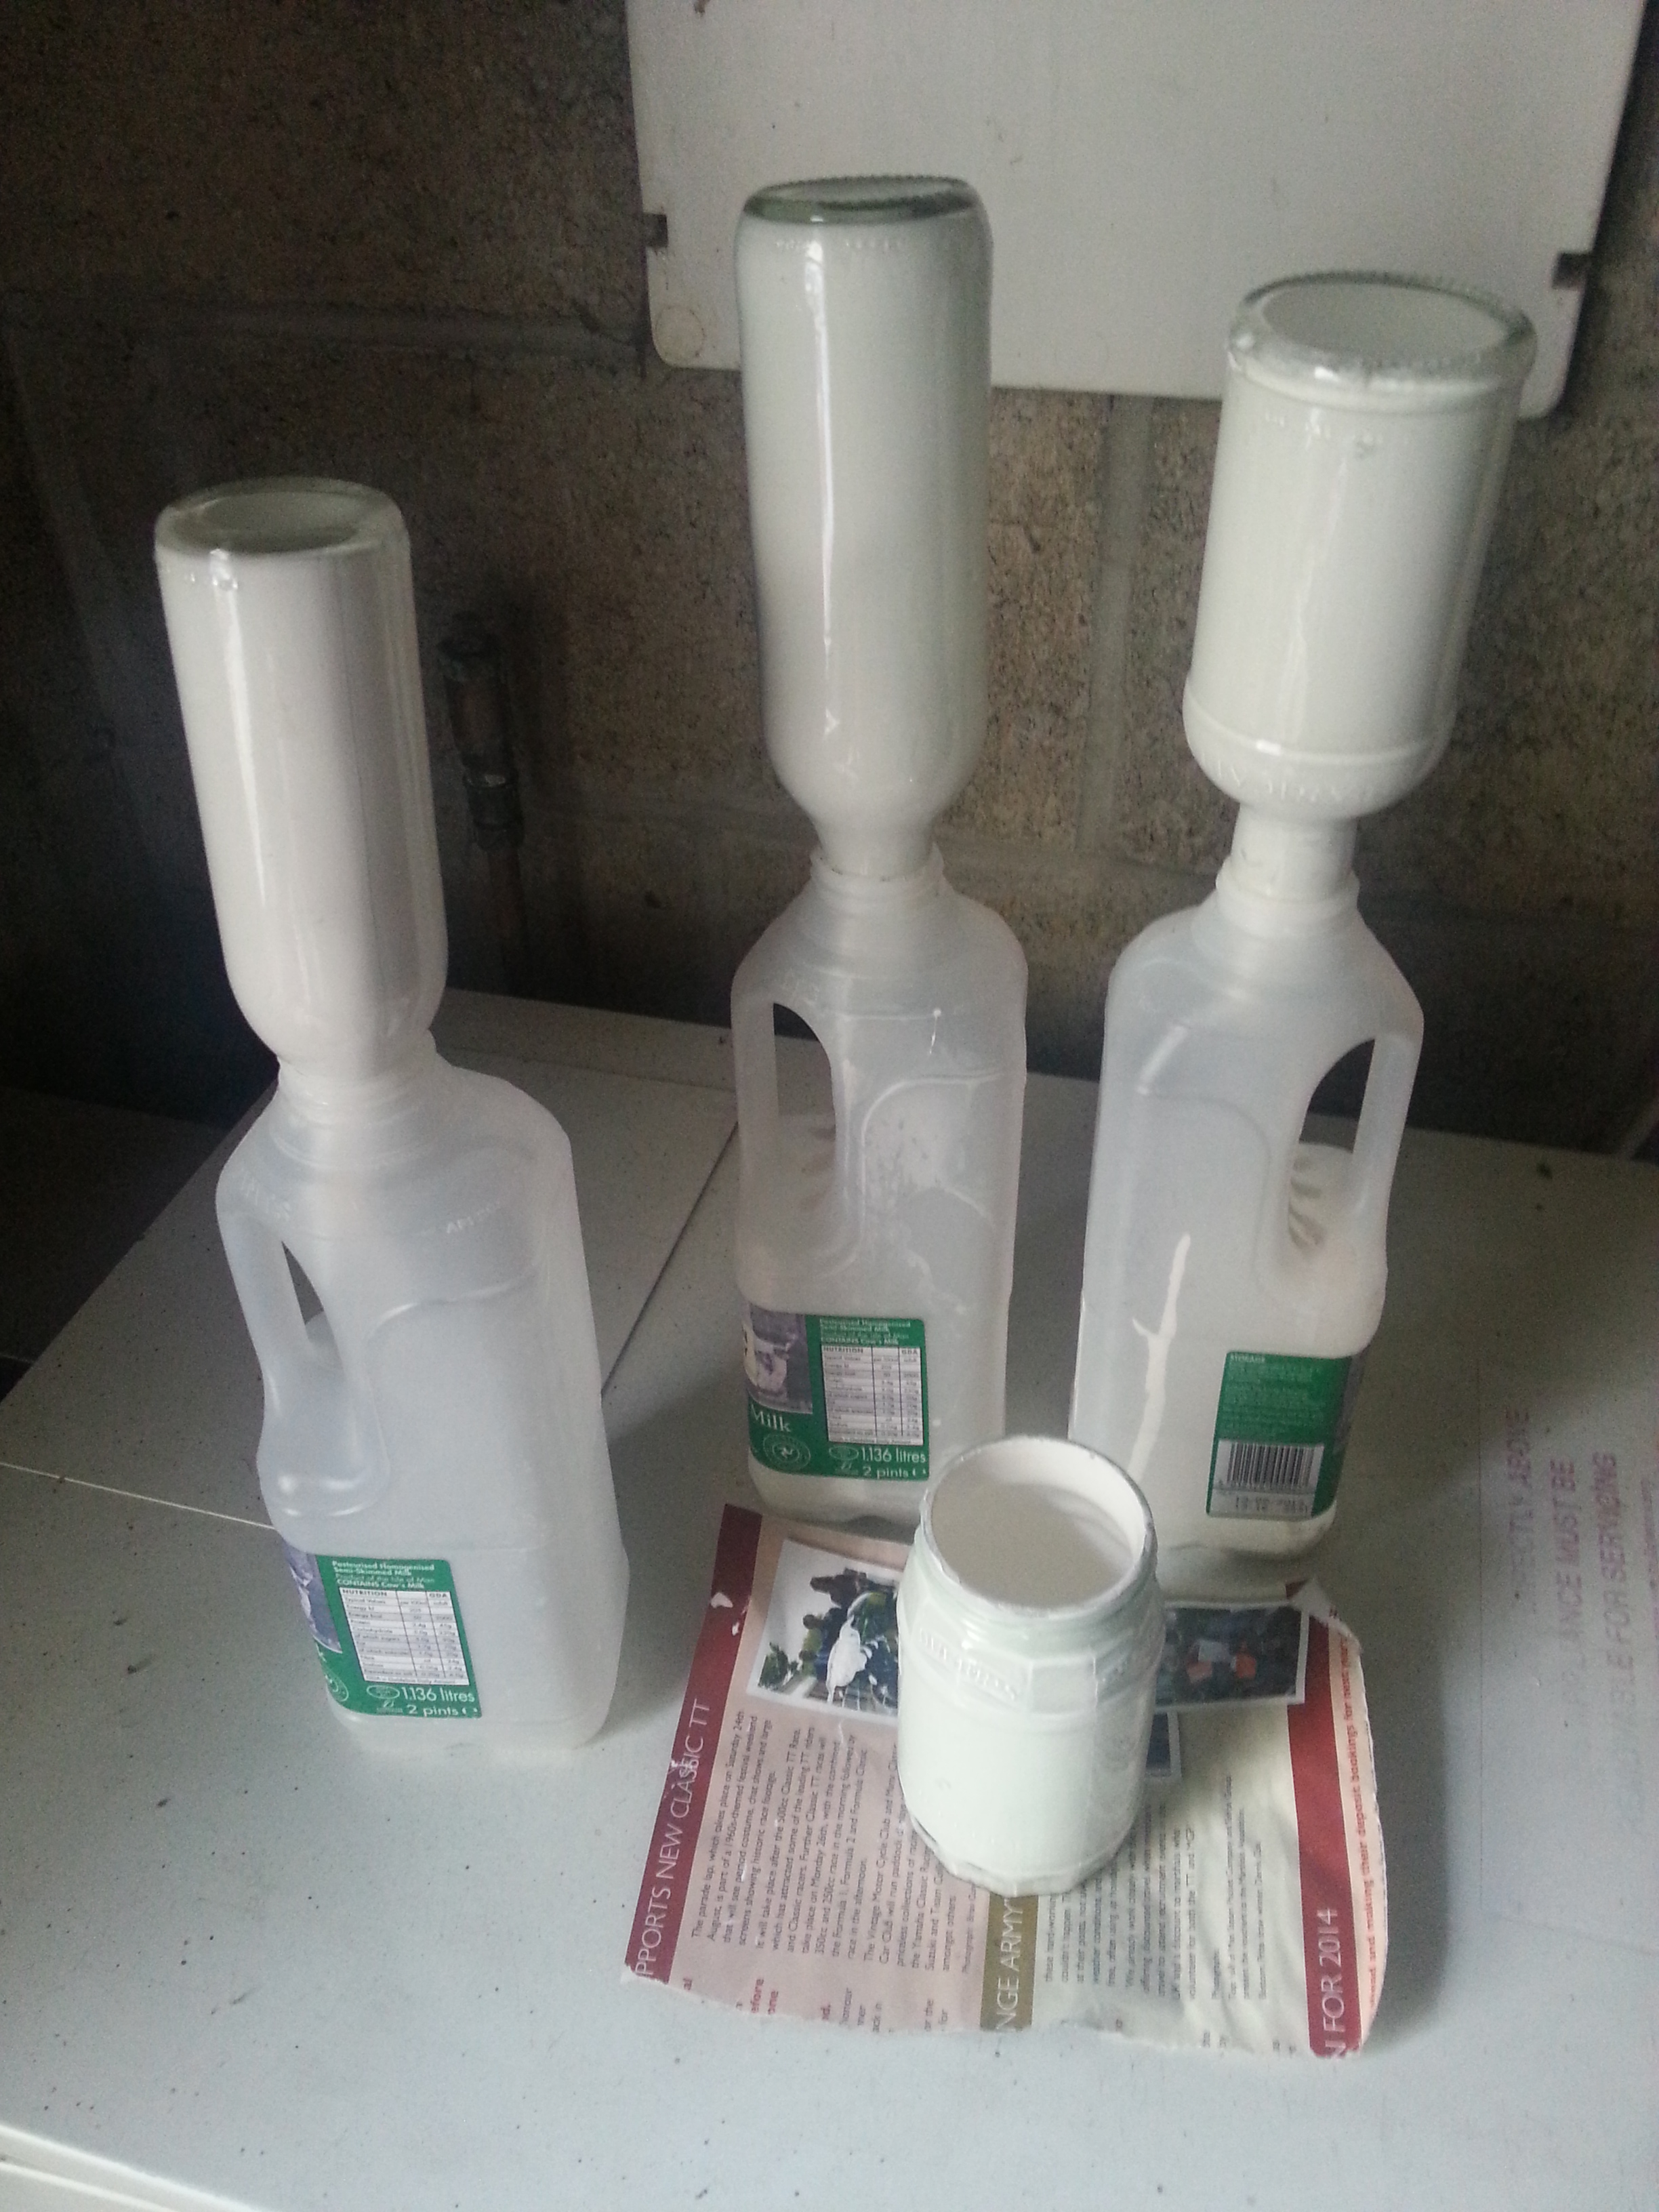
Bottles with the insides coated with paint
Letting the excess paint drain out.
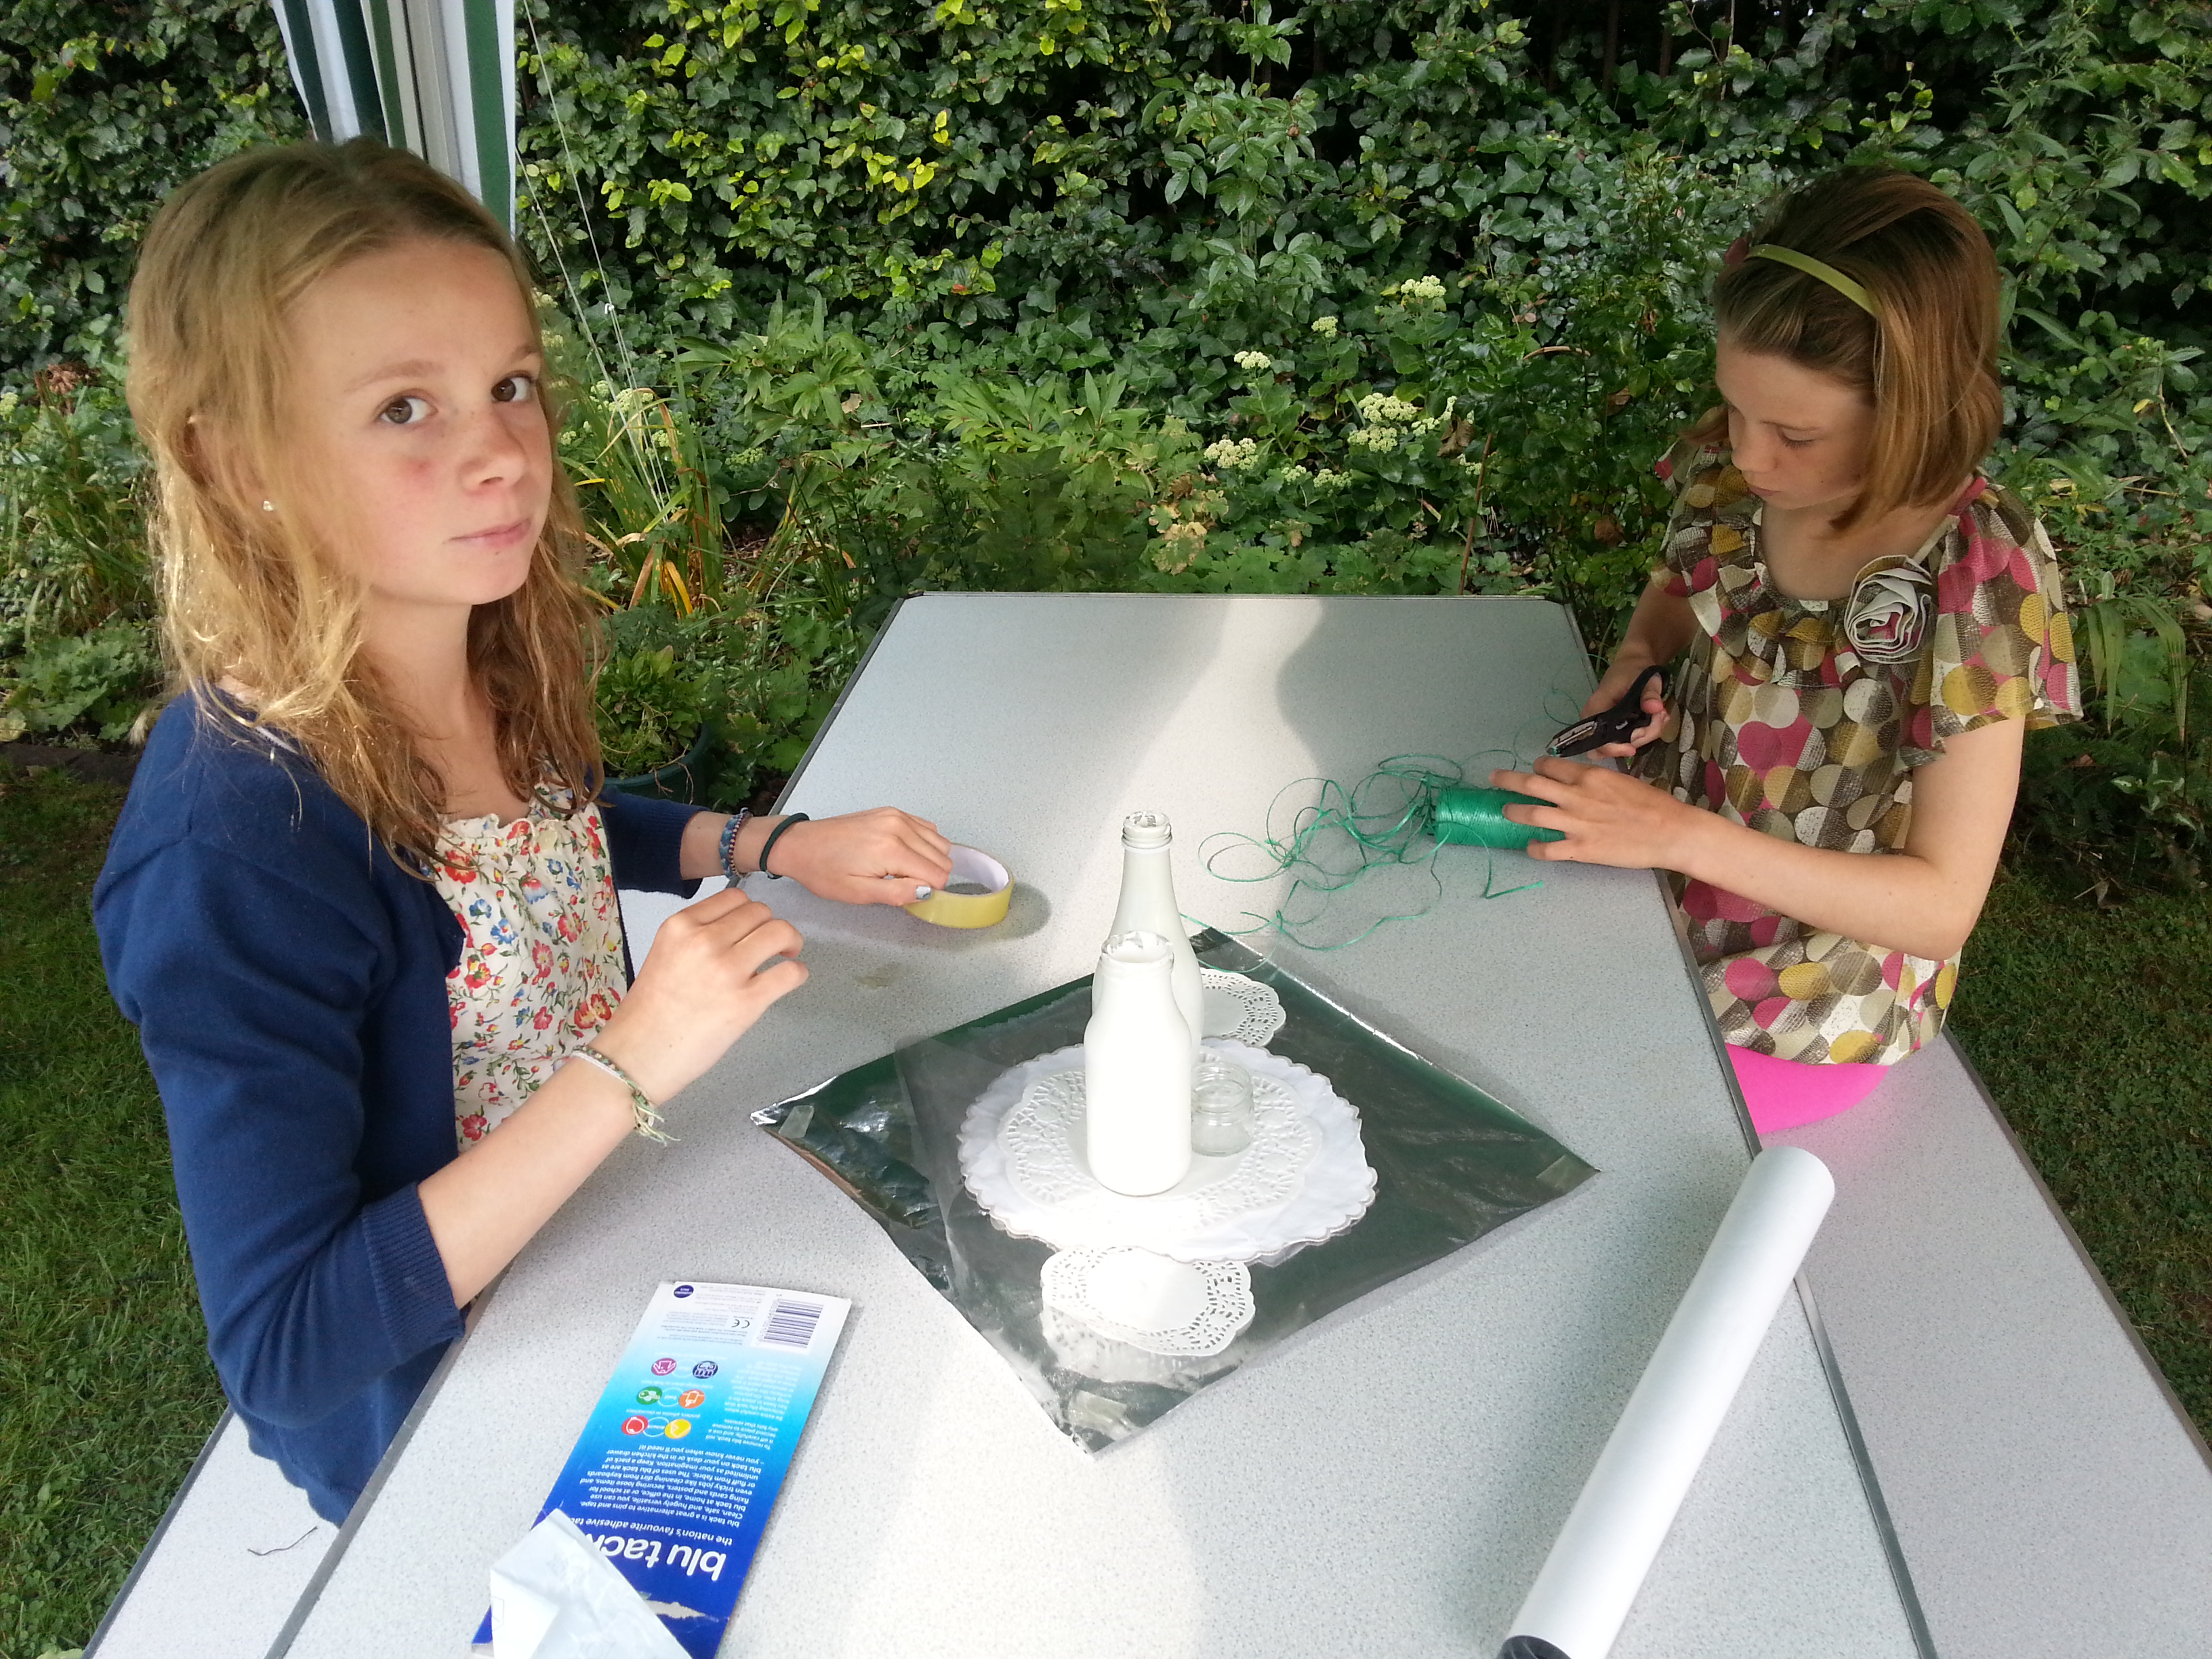
My helpful cousins assembling the centre pieces
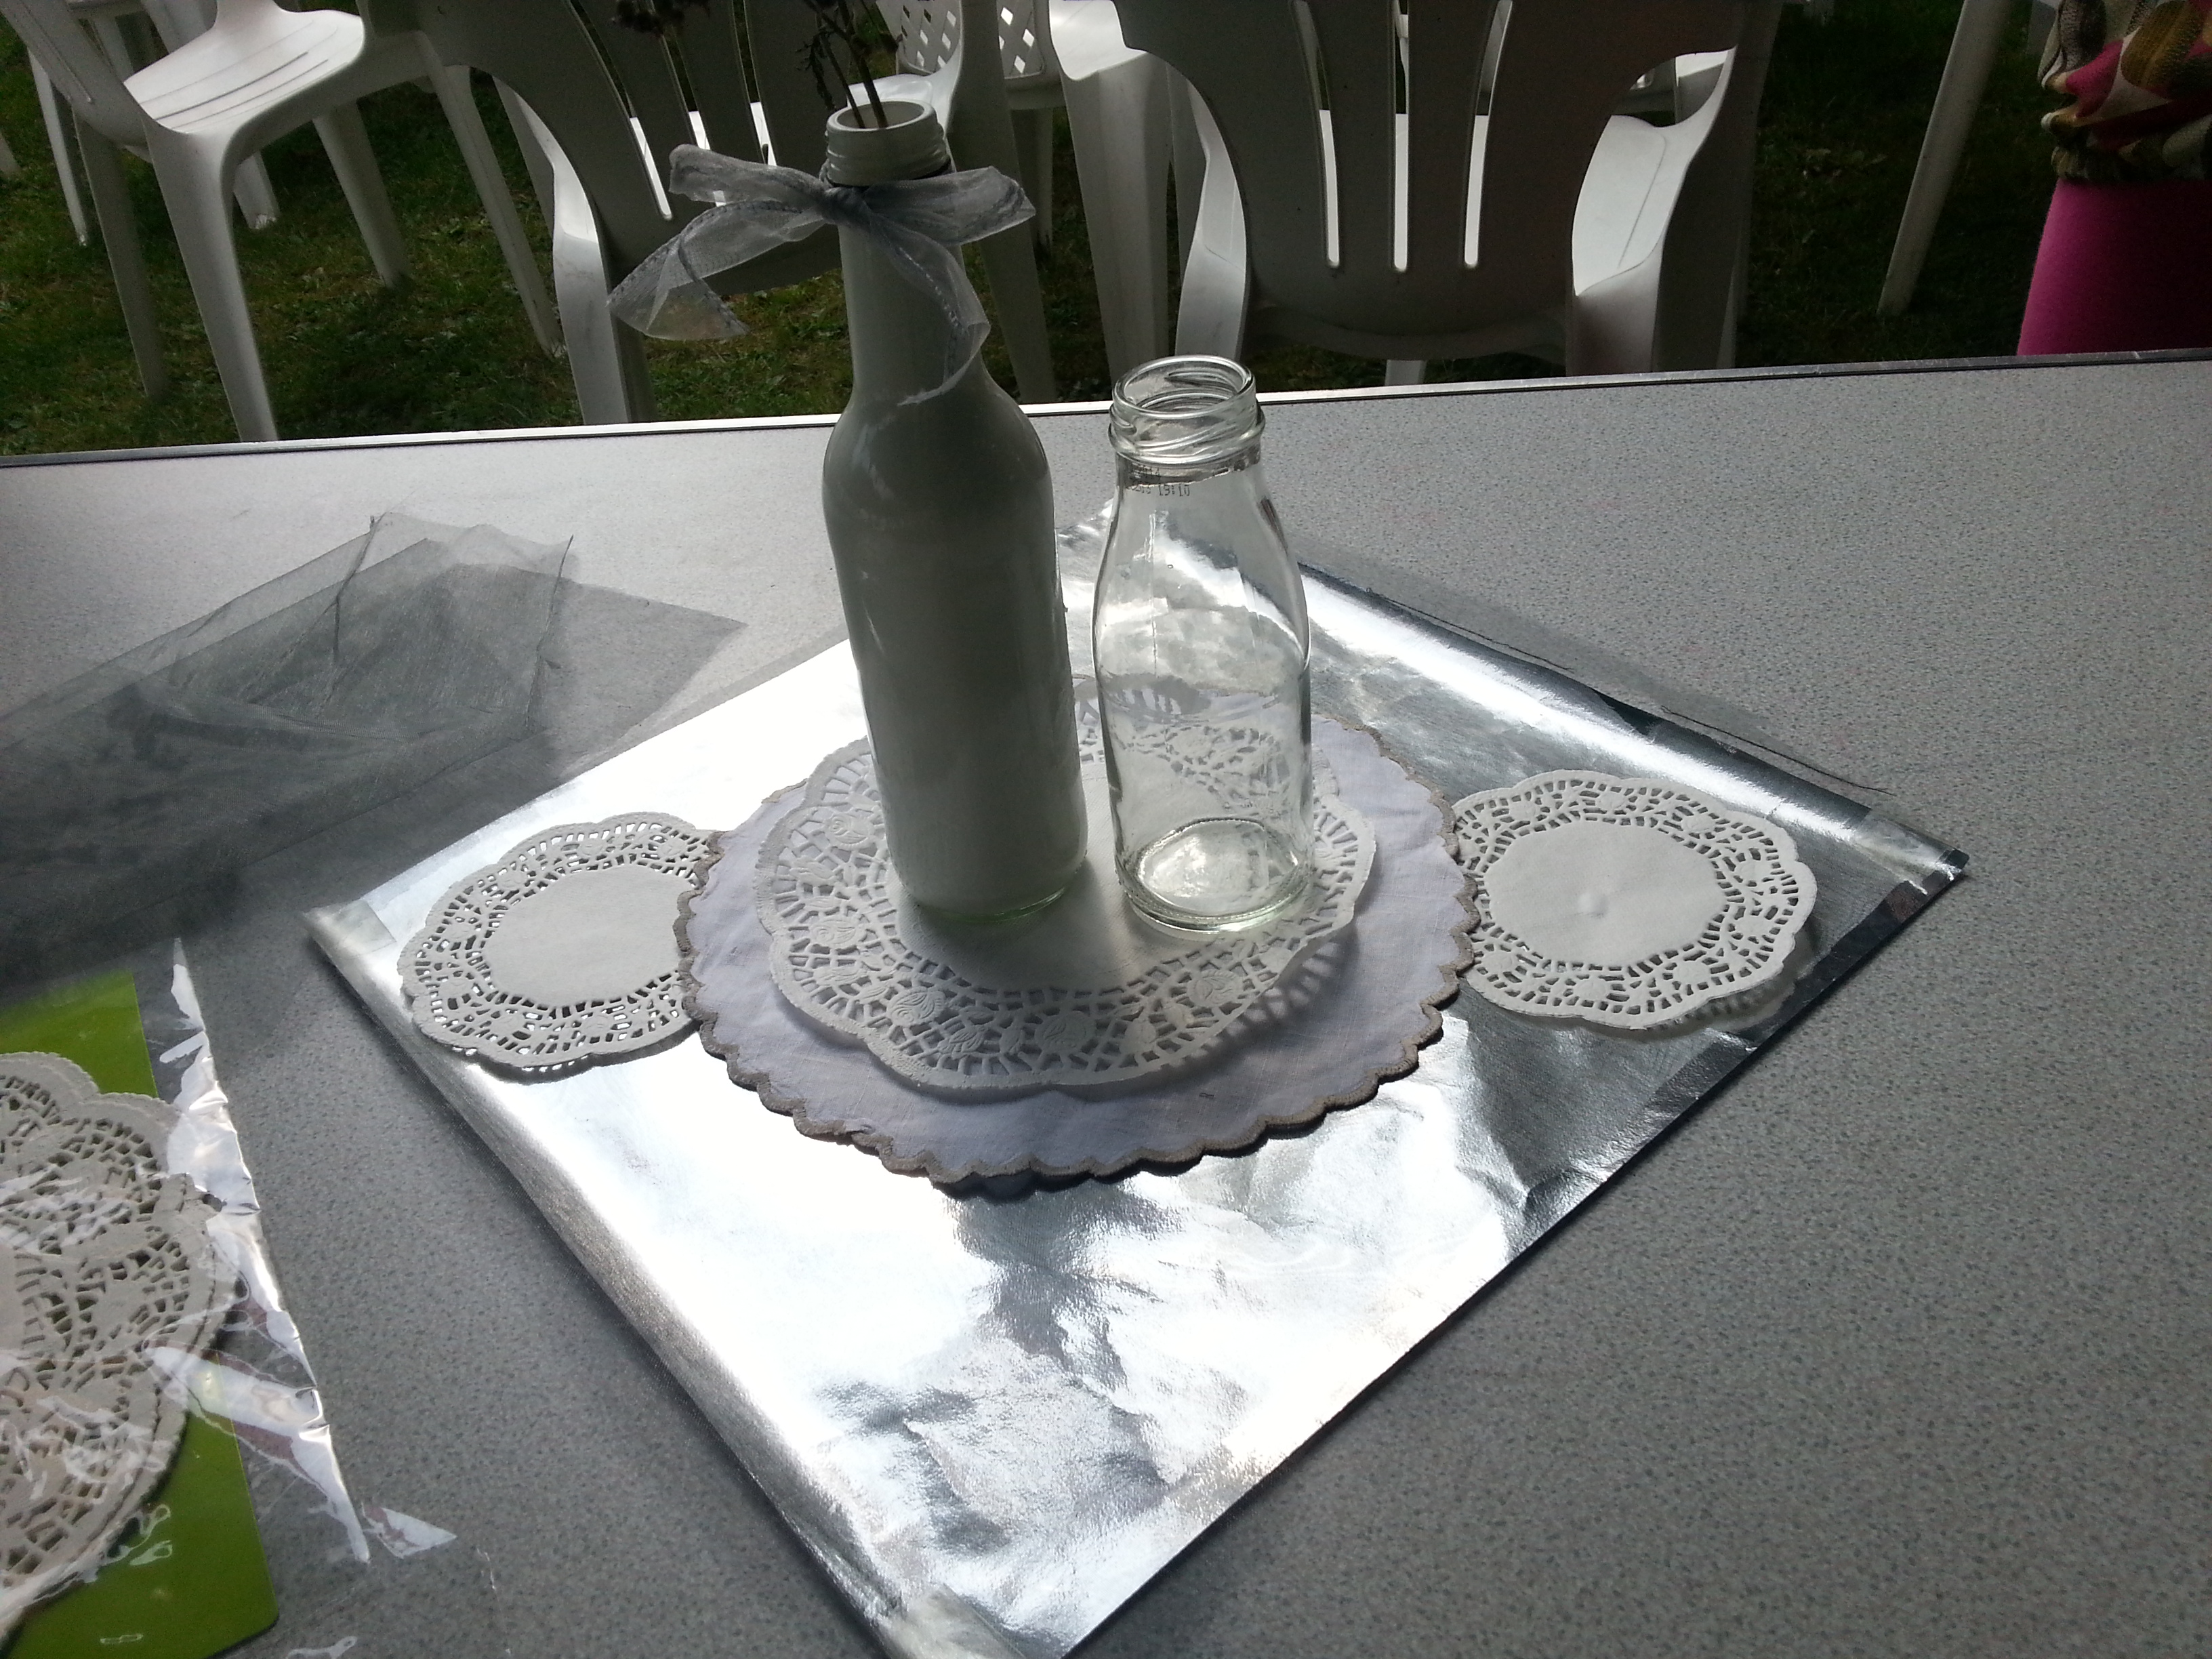
Before putting the flowers in.